
&& last remaining brain cells
introduction#
i wanted to get my hands on maas && overall devops operations for a while now
i’ve decided to start by taking a look at maas on my local machine using qemu/kvm
maas?#
maas metal as a service is canonical open source solution for bare-metal server deployment && management for cloud-like environment
you oftenly use maas to orchestrate your bare-metal hosts (mini pcs, servers…) to deploy your os && manage your hosts from the network, w/out feeling like moving your chair
jokes aside, it is a very cool way to manage your hosts without custom made or integrated ipam solutions (idrac, ilo…) remotely
it is a standalone pxe/preseed service to streamline machines management -> you typically boot over the network && your host appears onto your controller ready to be managed
big plus for me is its web ui, possible rest api calls && its cli management
technical terms#
maas refers your hosts as nodes
these nodes are part of zones, simple organisational units that contains nodes, where each node is in one, && only one zone (“bedroom”, “closet”, whatever…)
newly installed maas comes with the “default” zone which contains all nodes unless you create a new one
those zones are part of regions, same purpose as zones are for nodes, but for zones
some particular nodes will be controllers, especially regions controllers && racks controllers
region controllers deals w/ your requests, when rack controllers provide the resulting actions to the asked nodes

keep in mind that region controllers (for regions, obviously) are the entry points for your actions && rack controllers are the front-line managers for your nodes
regions controllers typically has the web ui, the rest api, the database && such, where the racks controllers manage the nodes by implementing dhcp, giving orders, hosting images…
a node will be going through different commissioning states, such as “New”, “Commissioning”, && “Ready”
a full glossary is available on maas.io docs but i wanted to put my words on important notions i use later
the plan#
i will be provisioning two vms, could be considered as bare-metal servers here, from a controller that will be a region && a rack one
here is a simplified diagram of what my installation will look like
192.168.122.1) end subgraph maas-network maas-controller(maas-controller
192.168.122.2
172.16.0.10) maas-node-001[maas-node-001
172.16.0.2] maas-node-002[maas-node-002
172.16.0.3] end nat-gateway ---|natting| maas-controller maas-controller --- maas-node-001 & maas-node-002
the maas-controller will do both region && rack controller, distributing ip addresses through dhcp, be the dns, gateway && have a web ui
for a more corporate use, you can use your own dhcp server from your router e.g. pfsense, just make sure you configure “tftp” && “network booting” values to redirect your nodes on your maas controller when booting over the network
getting started#
i will use virt-manager as my virtualisation tool, i could have use usual qemu-img && qemu-system-x86_64 commands but that could have lead to more complex comprehension
ubuntu server 22.04 lts will be my choice to host the controller
i will show you the process after you have installed an ubuntu server vm
my controller will have 2 vcpu, 4 gb ram && 16 gb virtio storage, where my nodes will have 4 vcpu, 8 gb ram && 32 gb
i will provision ubuntu desktop 22.04 lts on maas-node-001 && maas-node-002
my boot order: 1. over the network, 2. on the hard drive
controller vm config#
the maas-controller vm has two network interfaces, the first for the maas-network && the other for the hosted-network
in this first configuration, i will configure ssh root access using ssh keys
later on, i will use the same ssh keys to connect to my nodes, during the controller installation i will show you how to use different ones if you want to
on the installed ubuntu server, i will accept temporarly password based ssh connection for root user to transit the public key
starting by changing root password, verifying it
sudo passwd root  # changing root user password
su -  # checking it
modifying /etc/ssh/sshd_config to accept password based authentication on root user && restarting service to make it take effect
nano /etc/ssh/sshd_config && systemctl restart sshd
| |
after that, on any host over 192.168.122.0/24 network, i generate ssh keys pair to apply them later
i remove the known fingerprint if i have already connected once to another machine using this ip address && generating the keys using ed25519 algorithm, w/out passphrase
sed -i '/192.168.122.2/d' ~/.ssh/known_hosts # fingerprint...
ssh-keygen -t ed25519 -N "" -f "$HOME/.ssh/maas-global"
here my private key is ~/.ssh/maas-global && my public key is ~/.ssh/maas-global.pub
sending the ssh public key on the remote host
(remote root password asked)
ssh-copy-id -i .ssh/maas-global.pub root@192.168.122.2
for more simplicity, i will add on my ~/.ssh/config an entry to tell: when i type ssh maas-controller, you do ssh root@192.168.122.2 using the private key generated
nano ~/.ssh/config
| |
we can now login onto the maas-controller vm && remove password based authentication for root user
ssh maas-controller
nano /etc/ssh/sshd_config && systemctl restart sshd
| |
maas installation#
at this point, you should have a ubuntu server vm, ssh root accessible, w/ your network interfaces configured (netplan)
maas can be installed using apt or snap package managers, although i’m not familiar w/ snap, i’ll use it since maas is most working on it
the latest stable maas version available as i’m writing this post is 3.5, you can see what’s yours using
snap info maas | grep latest
here is my output
tracking: latest/edge
latest/stable: –
latest/candidate: –
latest/beta: –
latest/edge: 3.5.0~beta1-16547-g.bcbb6120f 2024-03-30 (34542)
if you remove the pipe, you will see all the available releases
note that the – is for “there is not”, && the ↑ symbols are pointers for the above
e.g.
3.4/stable: 3.4.1-14343-g.a552d2522
3.4/candidate: ↑
3.4/beta: ↑
3.4/beta, stable && candidatate are all aliases for 3.4.1-14343-g.a552d2522
w/ that said, i installed the latest release
snap install --channel=latest/edge maas
after that, some ports should be exposed by maas
maas needs a database to work, even though you have a snap package for a non-production ready testing database maas-test-db
i’ll install a new postgresql db for maas
first, i export the variables i’ll use for my commands
export MAAS_DBADDRESS="127.0.0.1"
export MAAS_DBUSER=maas-db-user
export MAAS_DBPASS=maas-db-password
export MAAS_DBNAME=maas-psql-db
export MAAS_USER=xeylou
export MAAS_USEREMAIL=xeylou@proton.me
feel free to modify yours as you like
then i install postgresql
apt install -y postgresql
i will create a simple postgre user for the database connections using $MAAS_DBUSER && $MAAS_DBPASS
sudo -i -u postgres psql -c "CREATE USER \"$MAAS_DBUSER\" WITH ENCRYPTED PASSWORD '$MAAS_DBPASS'"
then i create a database associated w/ this user
sudo -i -u postgres createdb -O "$MAAS_DBUSER" "$MAAS_DBNAME"
&& the most complicate part (yes, it was), creating a line for this newly created db
echo "host $MAAS_DBNAME $MAAS_DBUSER 0/0 md5" >> /etc/postgresql/14/main/pg_hba.conf
&& you are basically done w/ the database configuration
now, as i said before, i’ll configure my maas controller as a region controller && a rack controller
in that process, i’ll also tell the maas command line to use the postgre db
(keep the maas web ui url prompted by pressing enter or change it at this step)
maas init region+rack --database-uri "postgres://$MAAS_DBUSER:$MAAS_DBPASS@$MAAS_DBADDRESS/$MAAS_DBNAME"
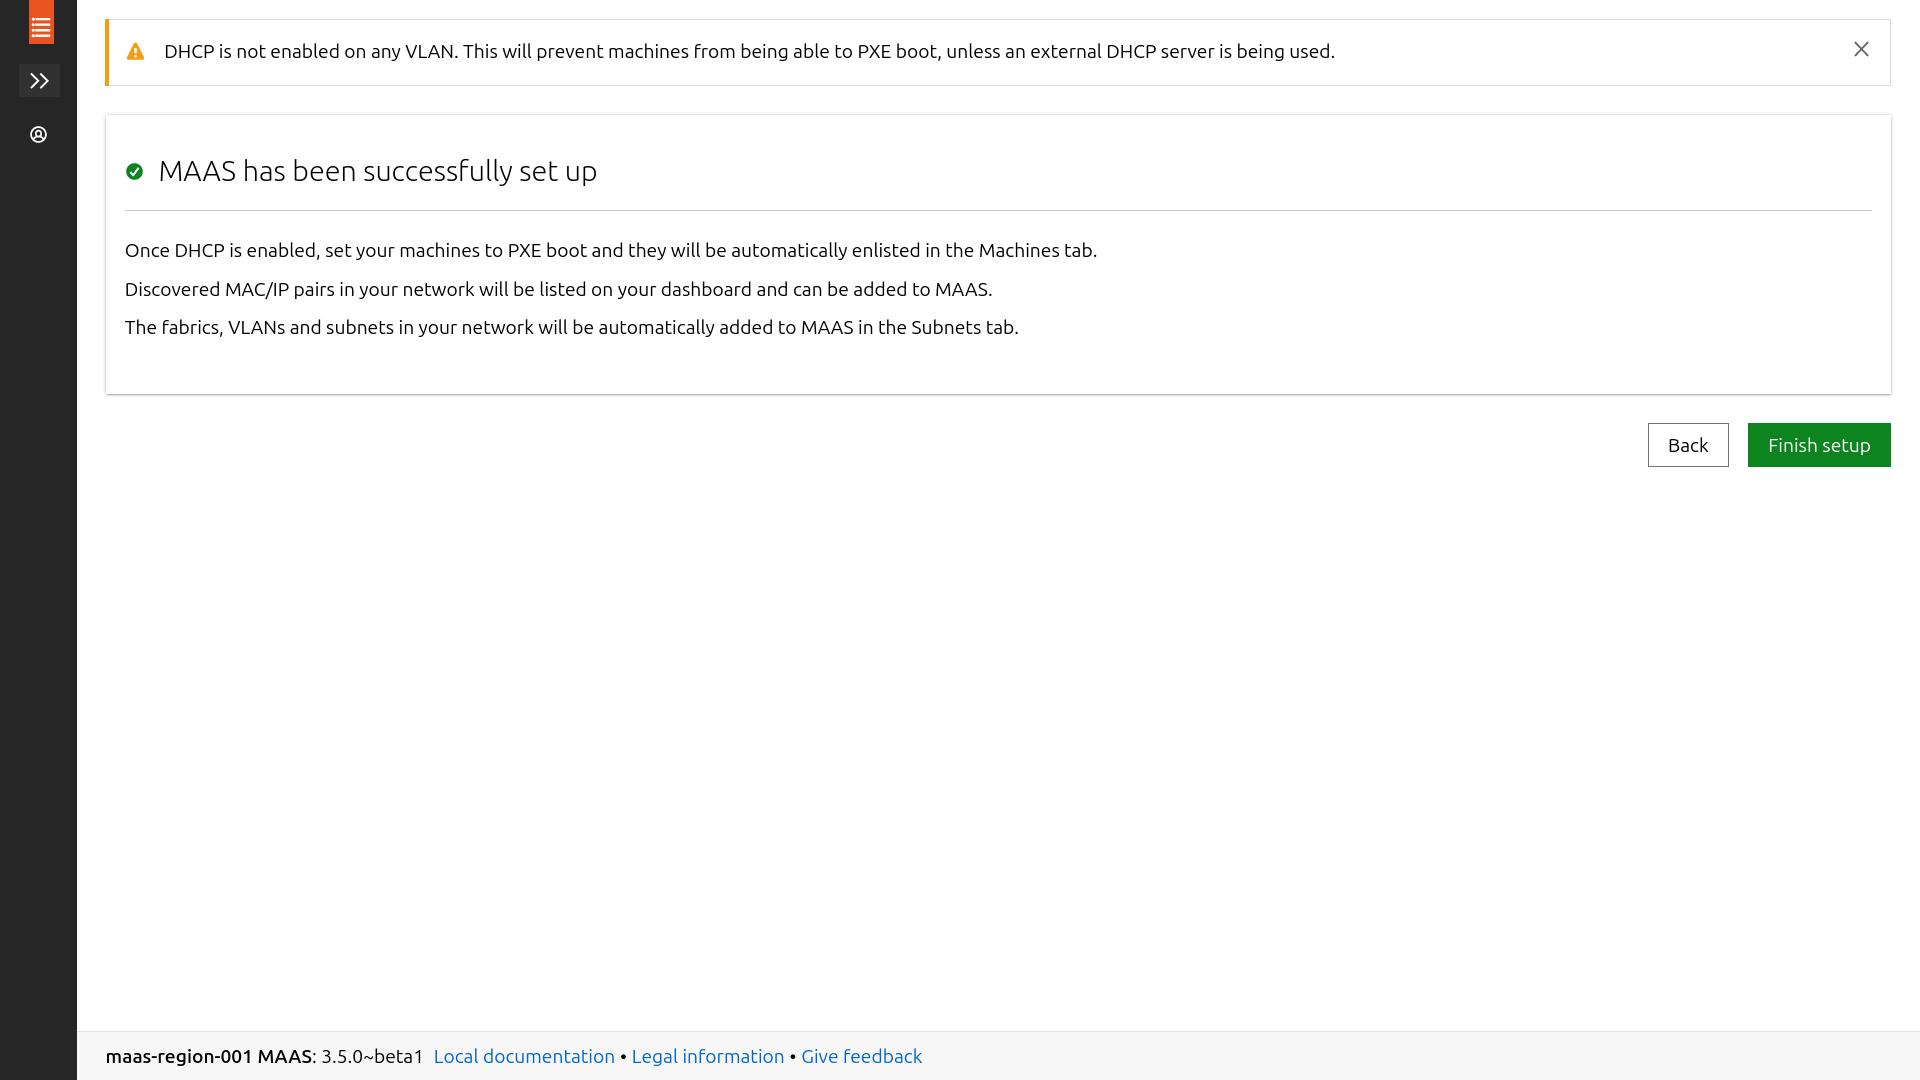
once you are done, your maas controller is installed
you only need to create an admin user to log into the web ui, use the rest api… && such
(enter a password twice, then press enter to skip importation)
maas createadmin --username=$MAAS_USER --email=$MAAS_USEREMAIL
you can resume the installation on the web ui or continue using commands
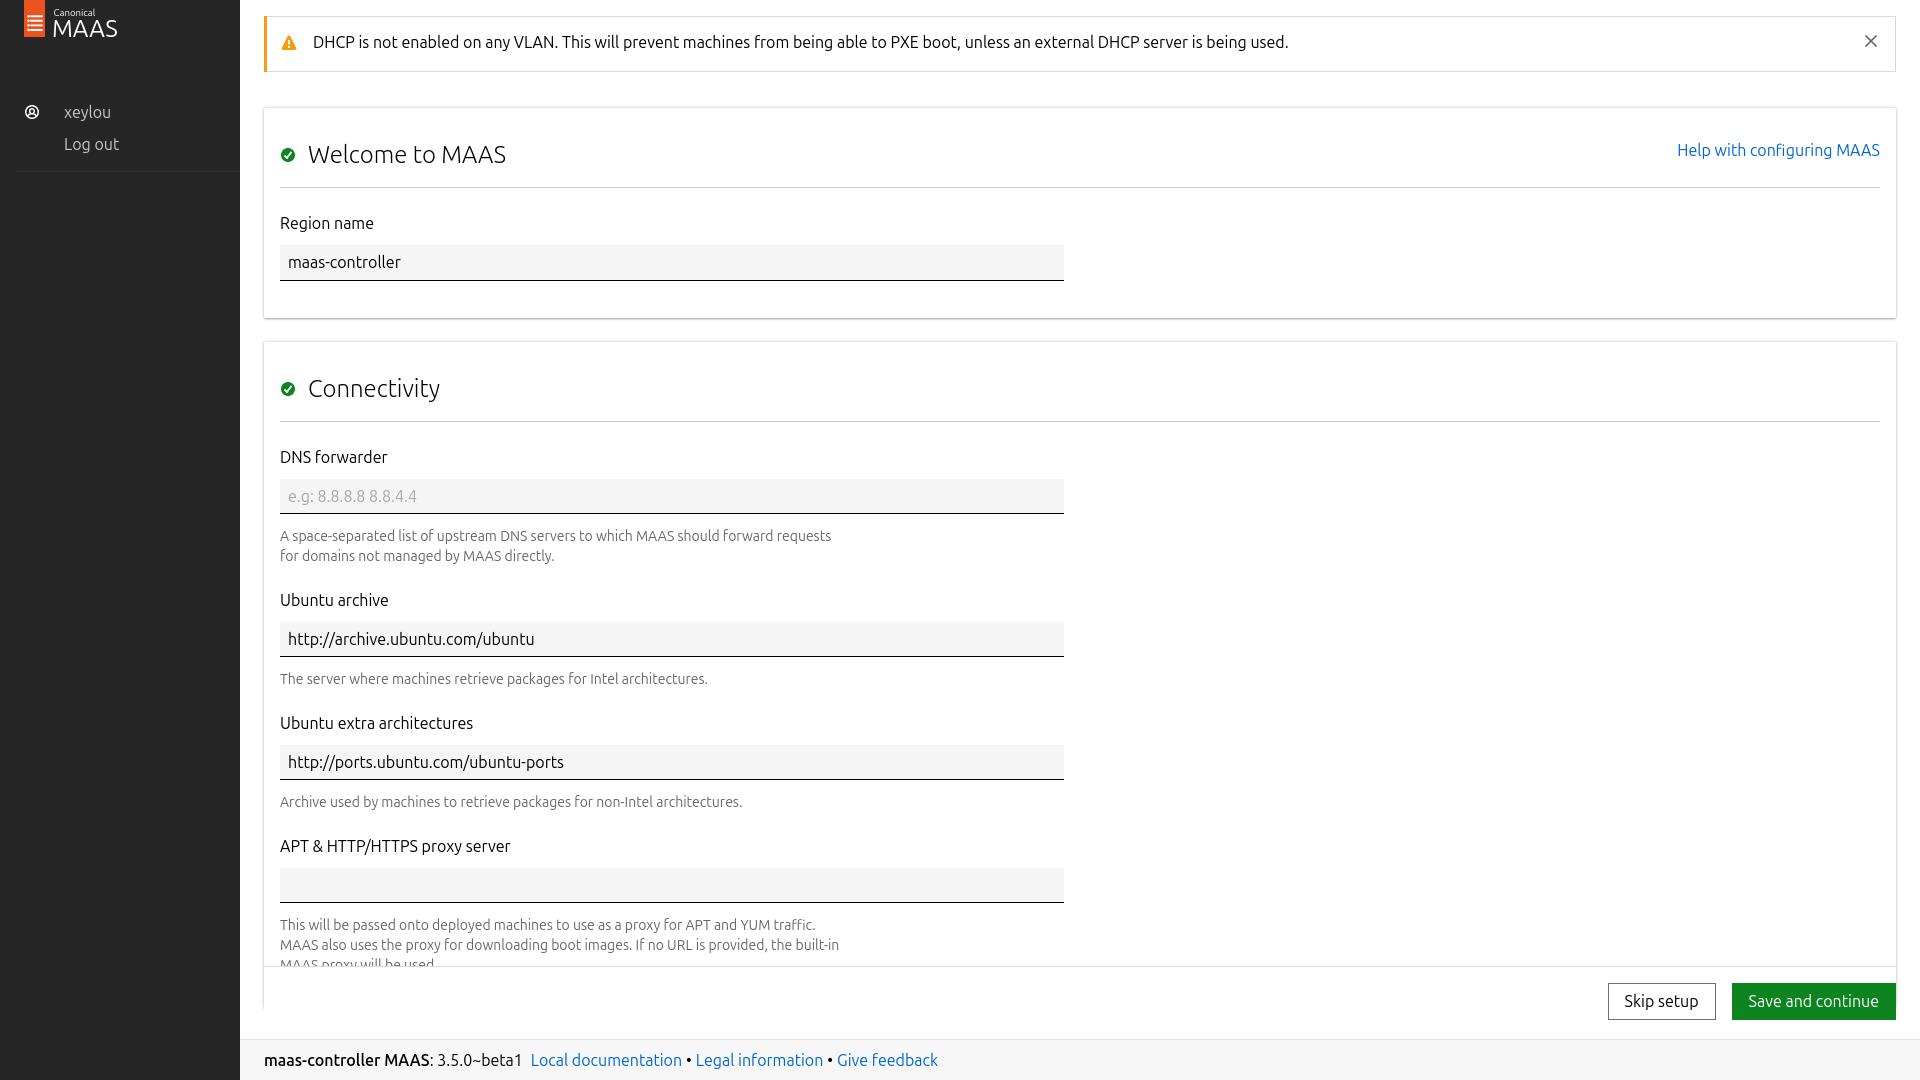
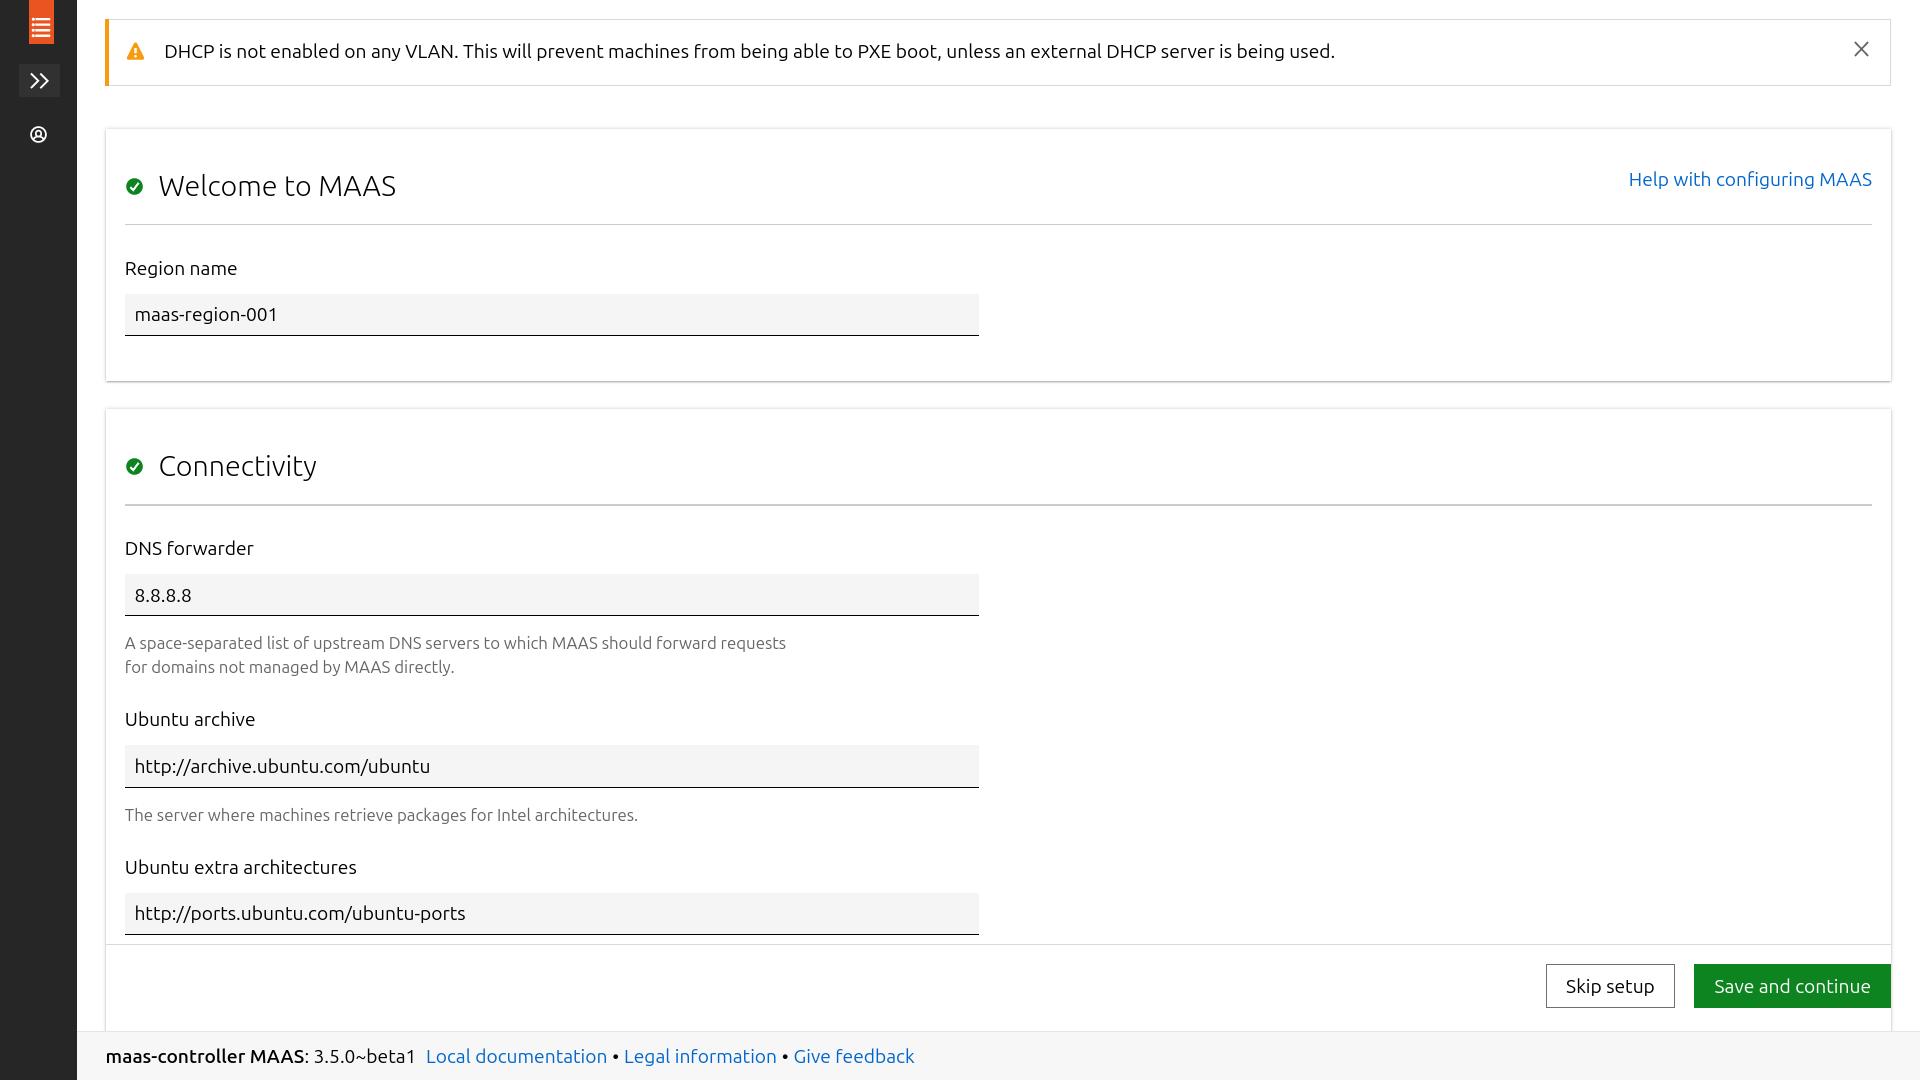
i’ll show you both, starting w/ the web ui, http://192.168.122.2:5240/MAAS in my case
(login w/ your admin user $MAAS_USER && its password created above)
here you can change the region name of your controller, && also configure dns fowarders if you plan to use your controller as nodes dns (for custom records)
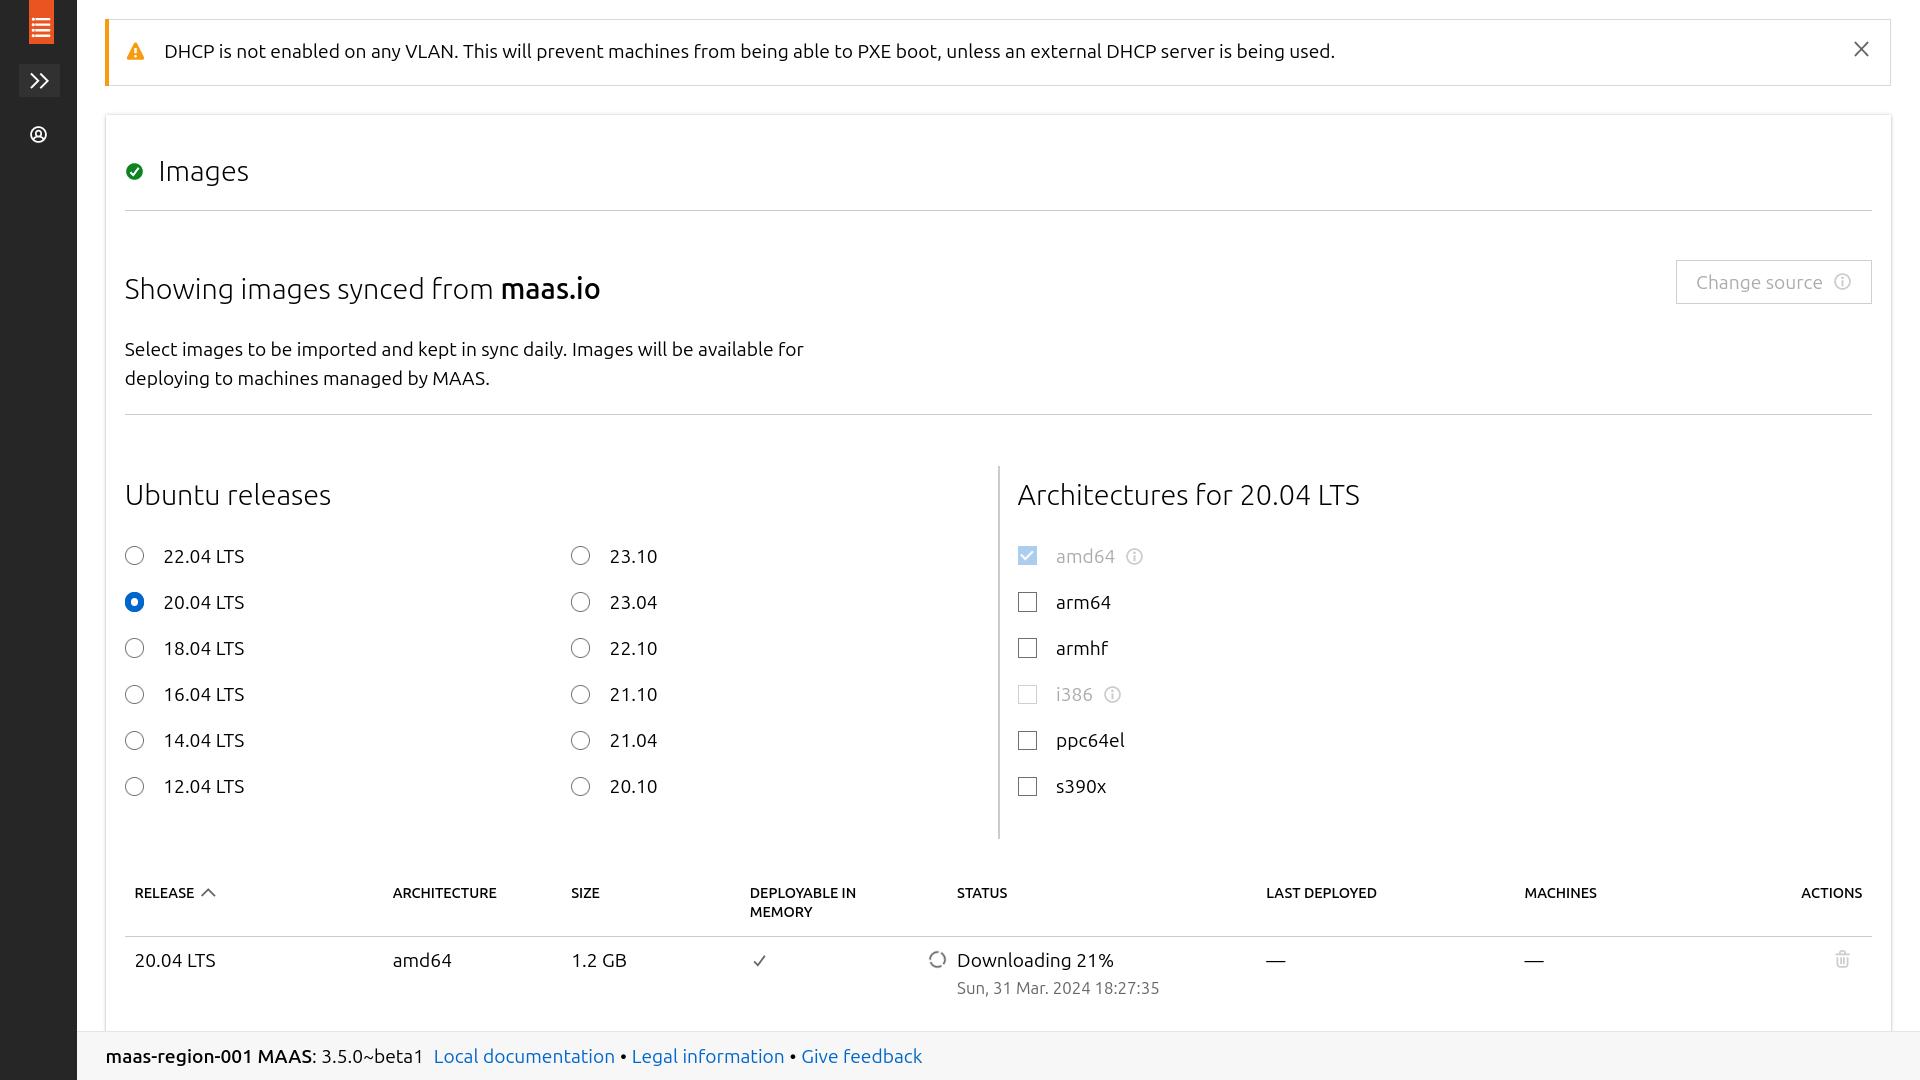
then, it’ll take you to the images settings, where you can download ubuntu or centos images for your nodes
by default it’ll download the ubuntu 20.04 image automatically && you’ll not able to delete it unless you change the “default image” in the settings…
leave it as it is or download new images, as you wish
yepee
now, it’s time to import a ssh public key to add to the nodes after they’ll get deployed, in order to ssh into them securely
i used the same one as the maas controller, but you can an other one if you want to

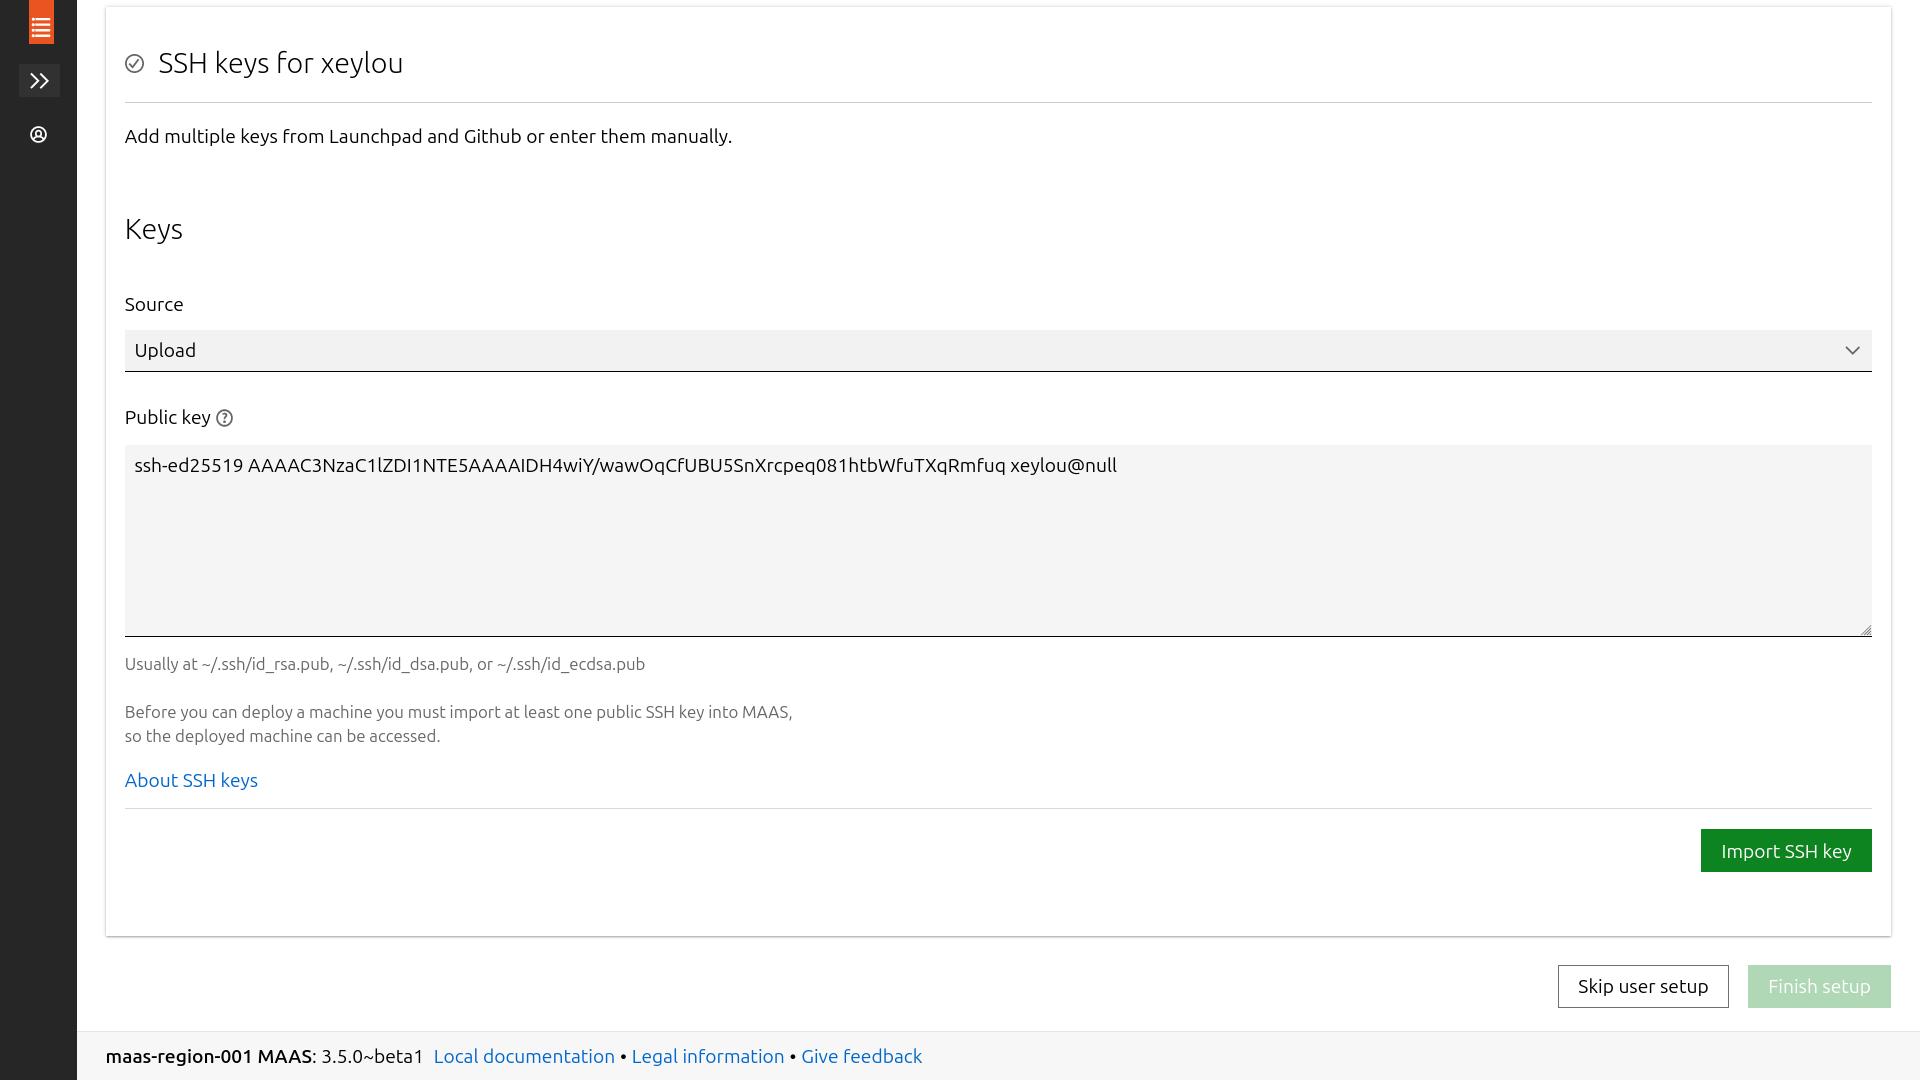
&& you are done w/ the maas (basic) installation
to do everything i showed using commands
(note that i connect to the maas api using the maas login command to do modifications)
export MASS_URL=http://192.168.122.2:5240/MAAS
export SSH_PUB_KEY="ssh-ed25519 YOUR_SSH_PUB_KEY user@hostname"
maas apikey --username=$MAAS_USER > $MAAS_USER-api-key-file
export MAAS_API_KEY=$(cat $MAAS_USER-api-key-file)
maas login $MAAS_USER $MASS_URL $MAAS_API_KEY
maas $MAAS_USER maas set-config name=upstream_dns value="8.8.8.8"
maas $MAAS_USER sshkeys create "key=$SSH_PUB_KEY"
subnet configuration#
for my use case, i configured the maas controller to be a dhcp server for my maas-network
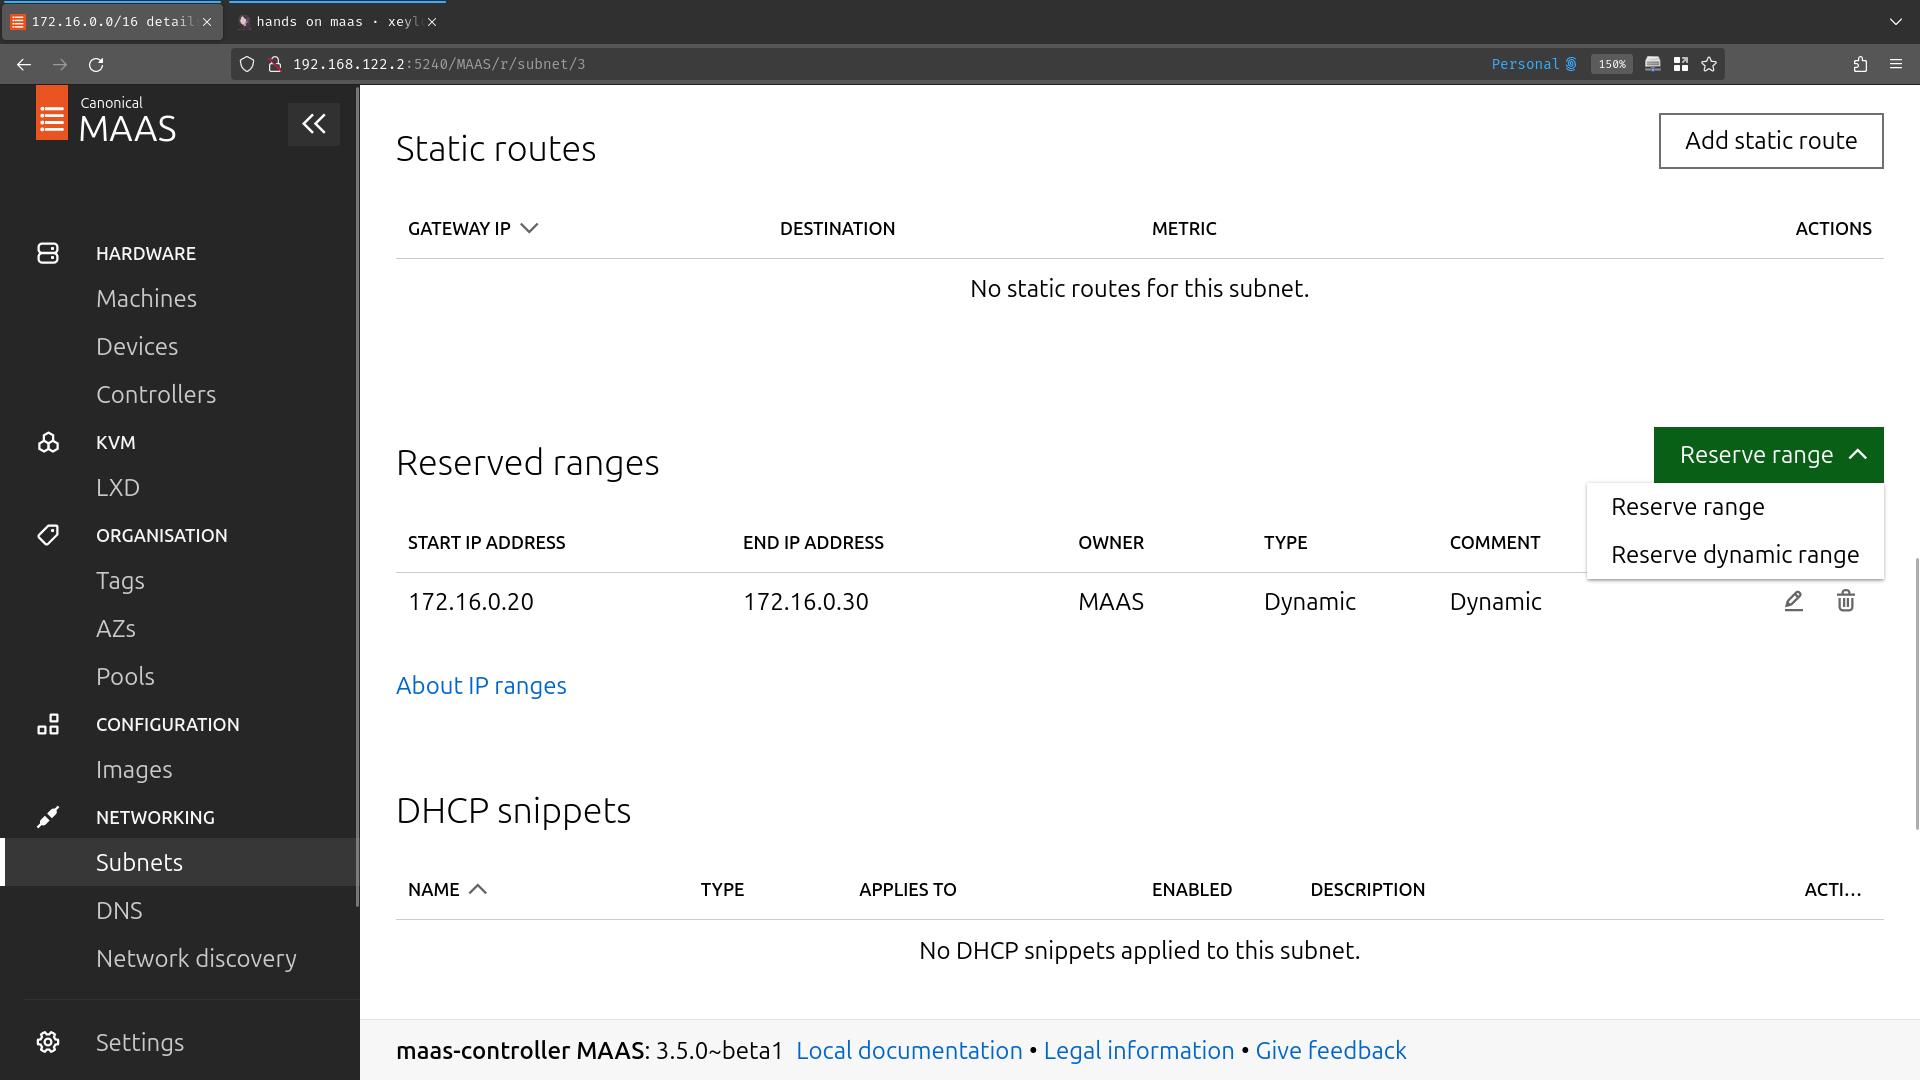
going to the Subnets sections, i modified the 172.16.0.0/16 one
(clicked on 172.16.0.0/16)

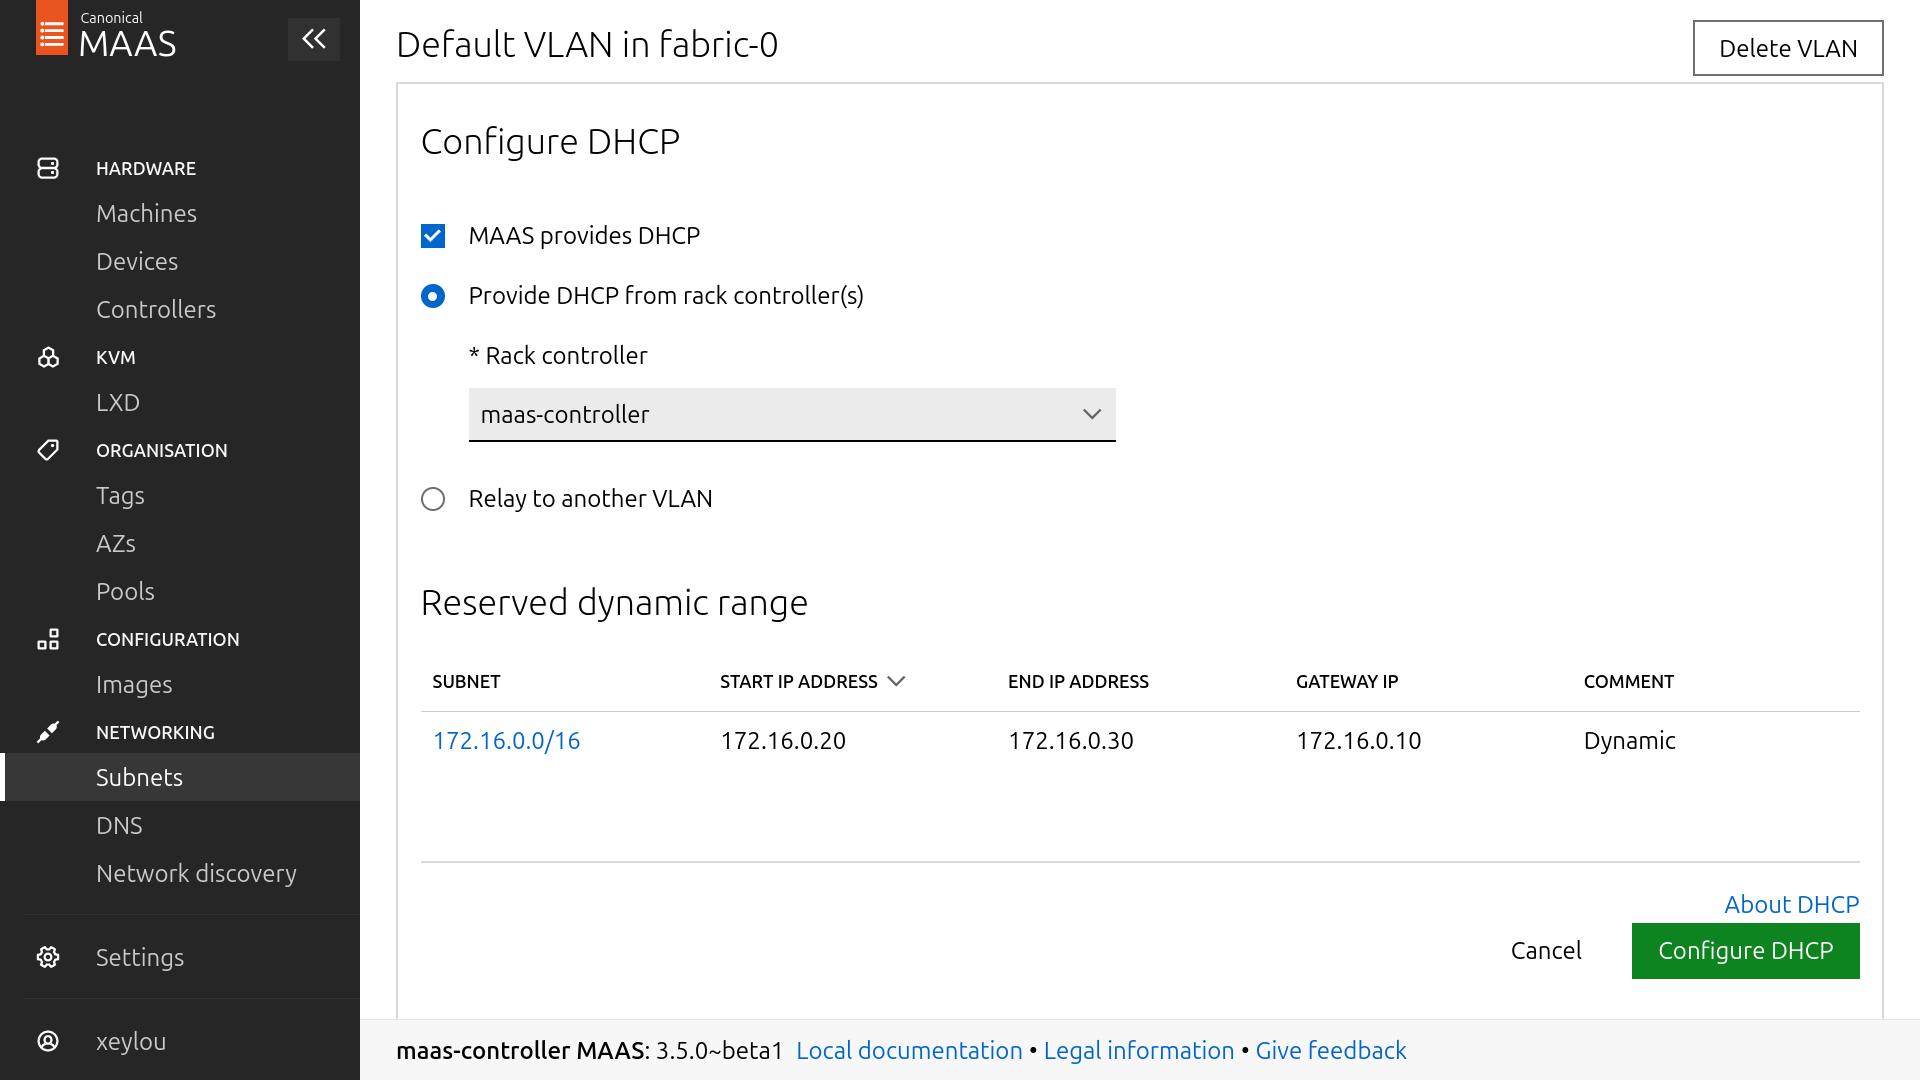
i edited it to add a Gateway && a DNS for the hosts (the controller, 172.17.0.10); these infos are distributed by your controller when your nodes ask for leases

i also Reserve a dynamic range for commissioning (172.16.0.20 -> 172.16.0.30)
(see below)
to start the dhcp, go back on the Subnets section && go on Untagged on your desire fabric (nics for ubuntu… here i clicked on untagged for fabric-0)
then Configure DHCP
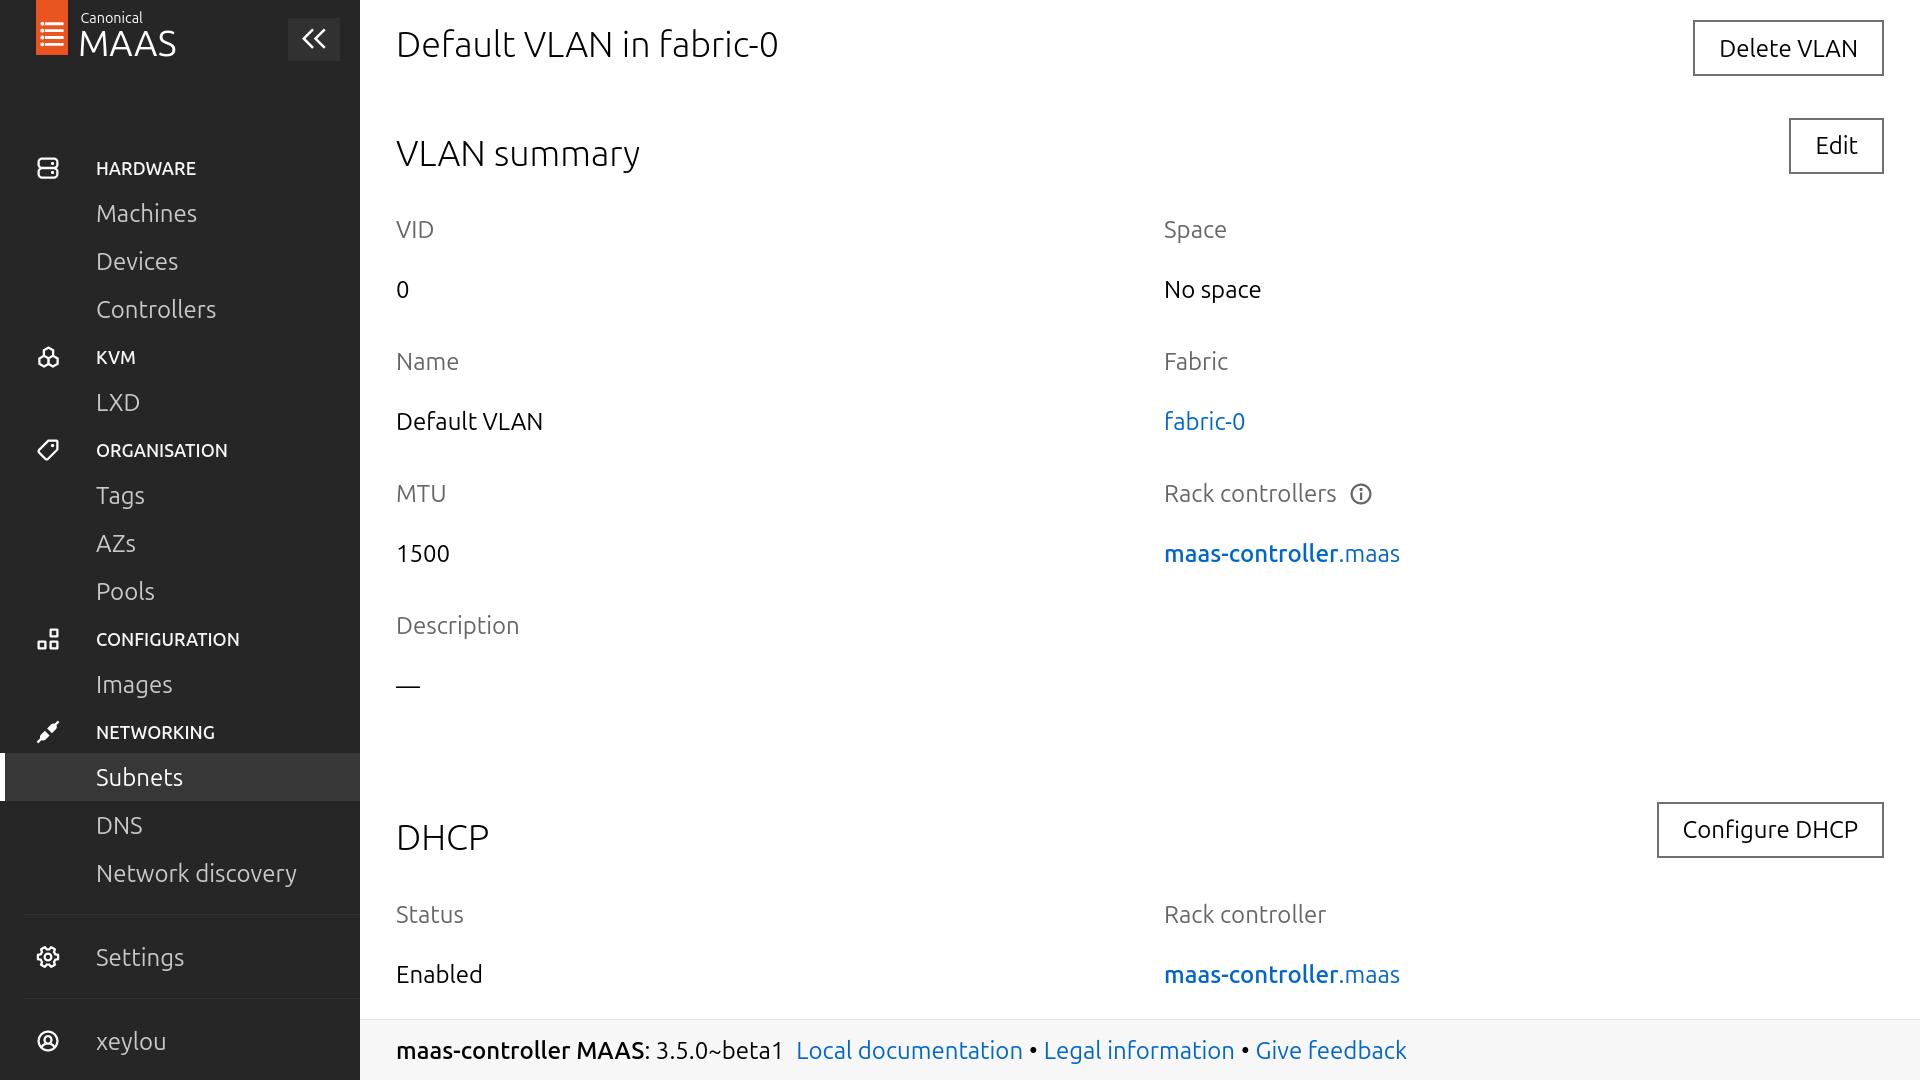
choose the only rack controller you have, && that is done
commissionning process#
i created a vm on the maas-network, only booting over the network
it gets an ip address by the controller dhcp && then boot over the given image, here ubuntu 22.04 bc i changed it
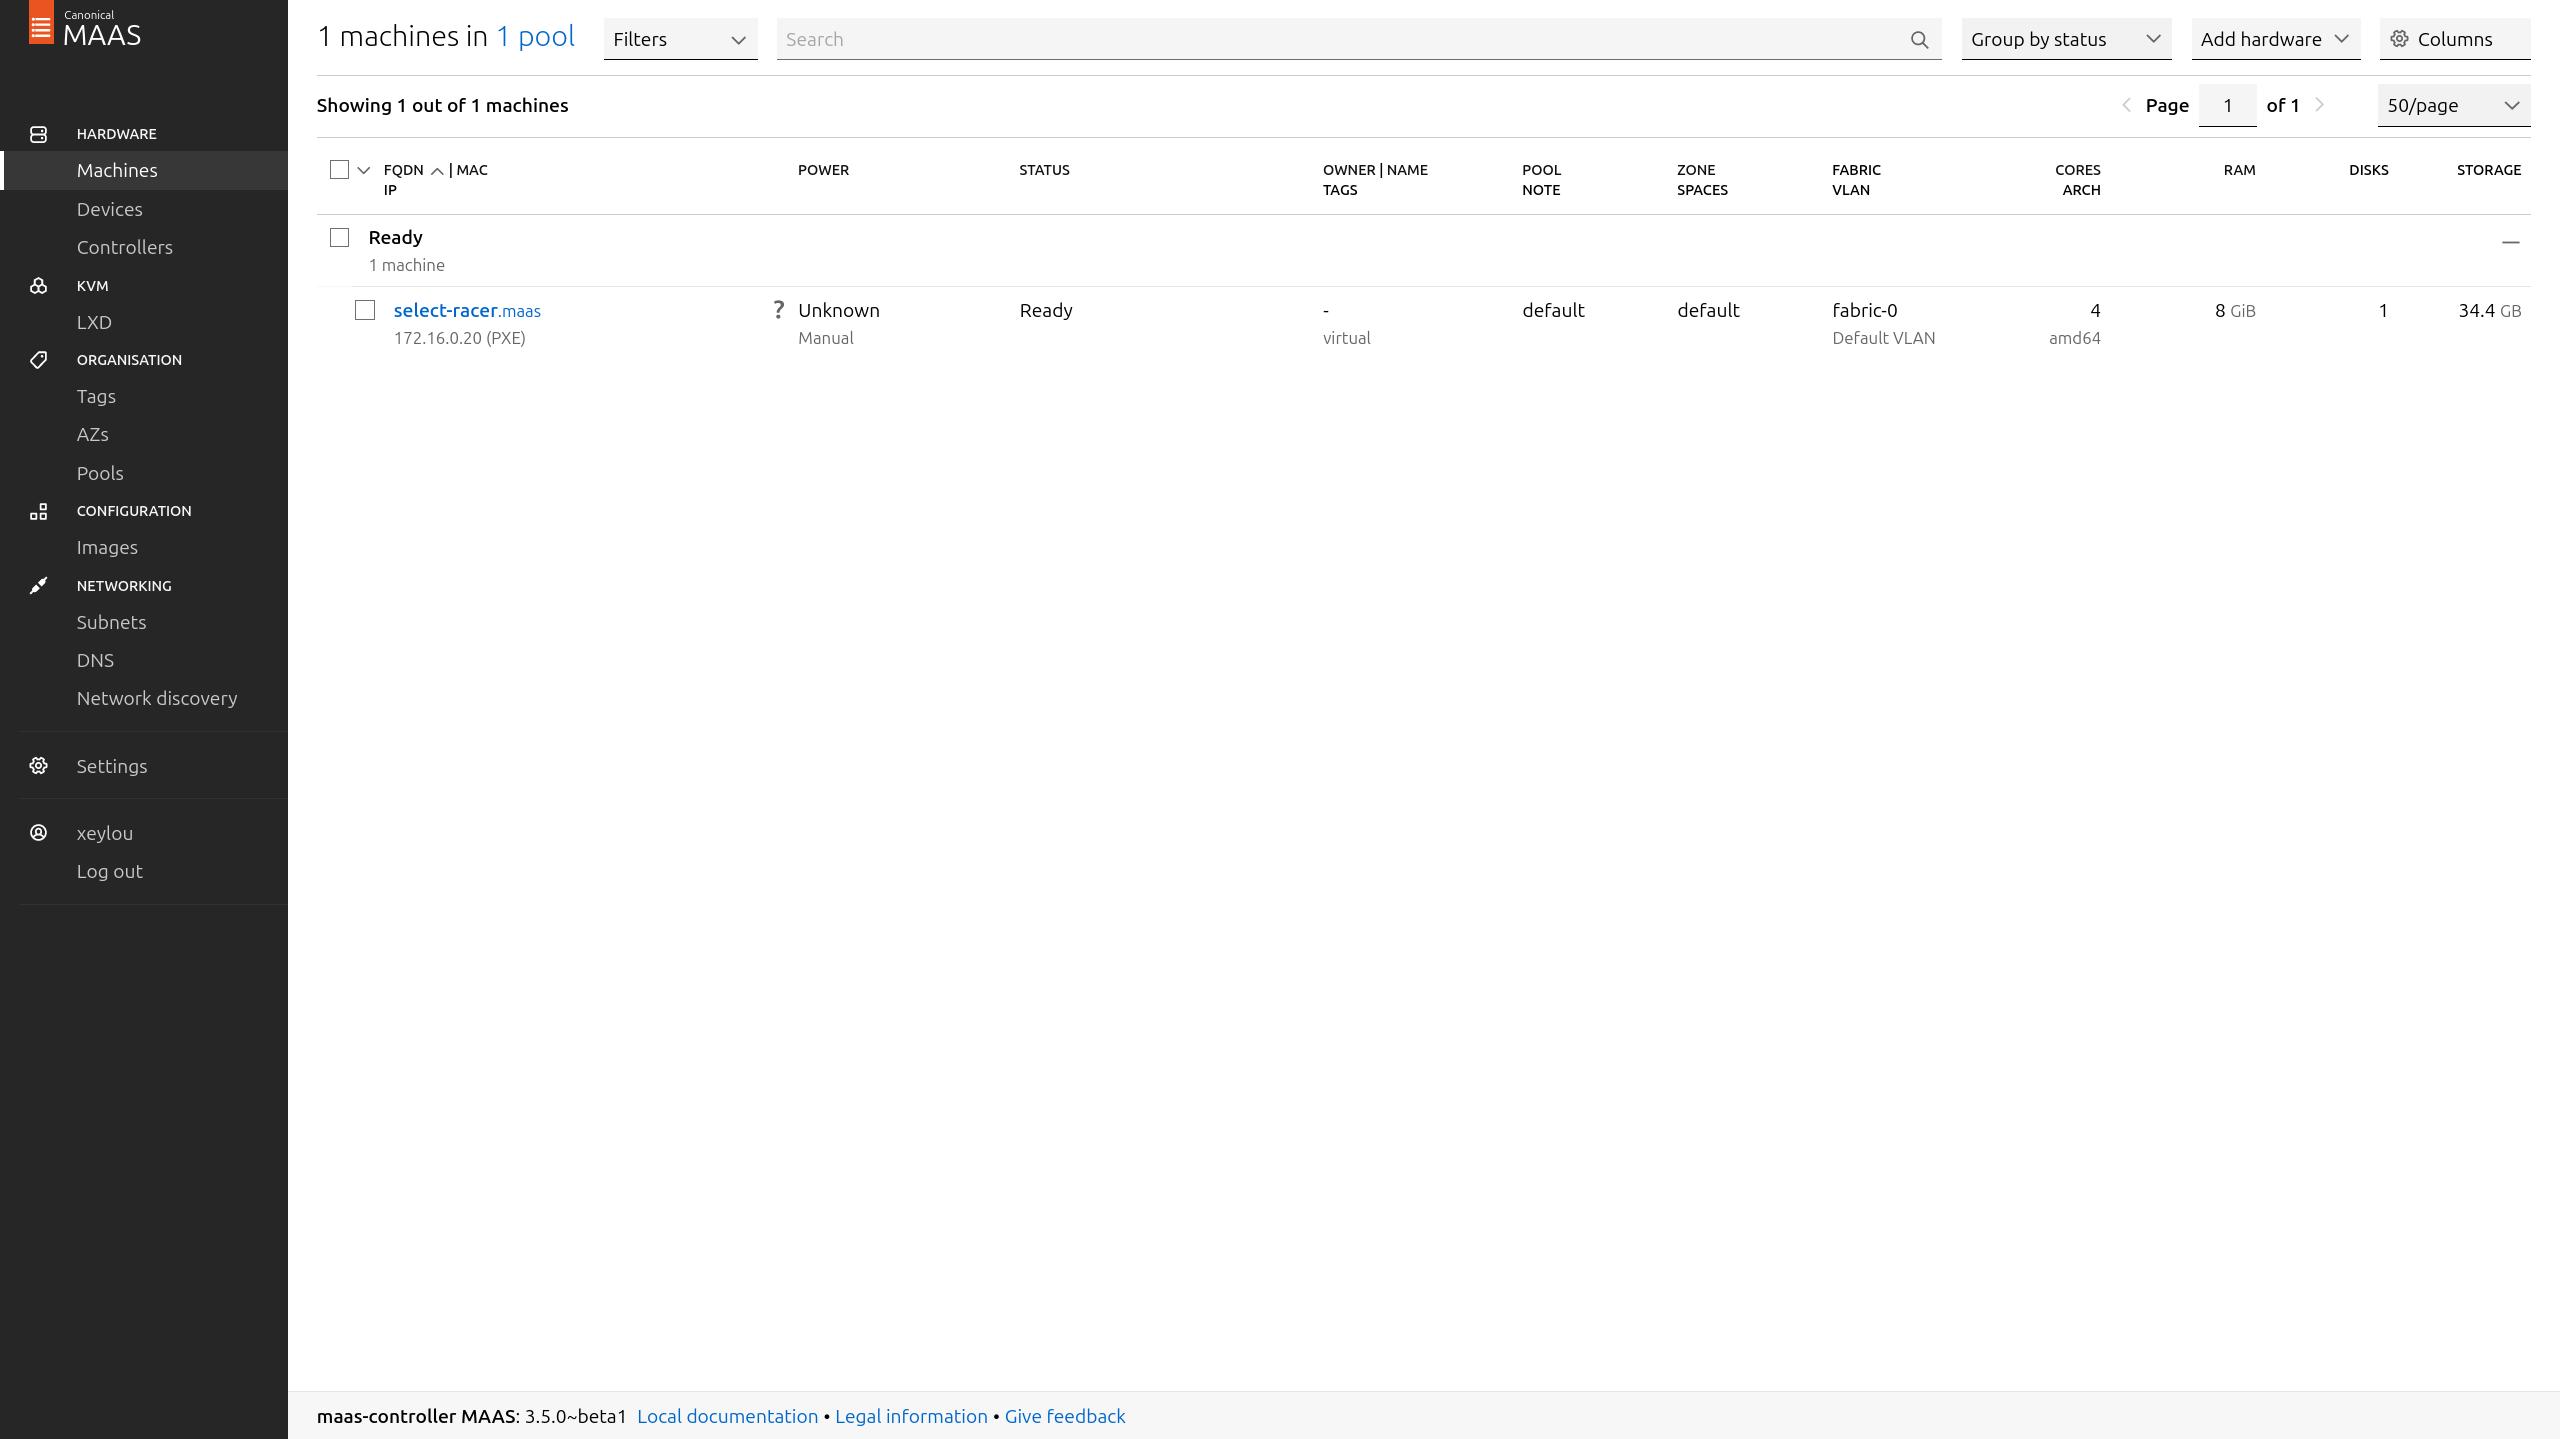
after a few minutes, the vm showed up on the Machines section, we still need to commission it && deploy an image
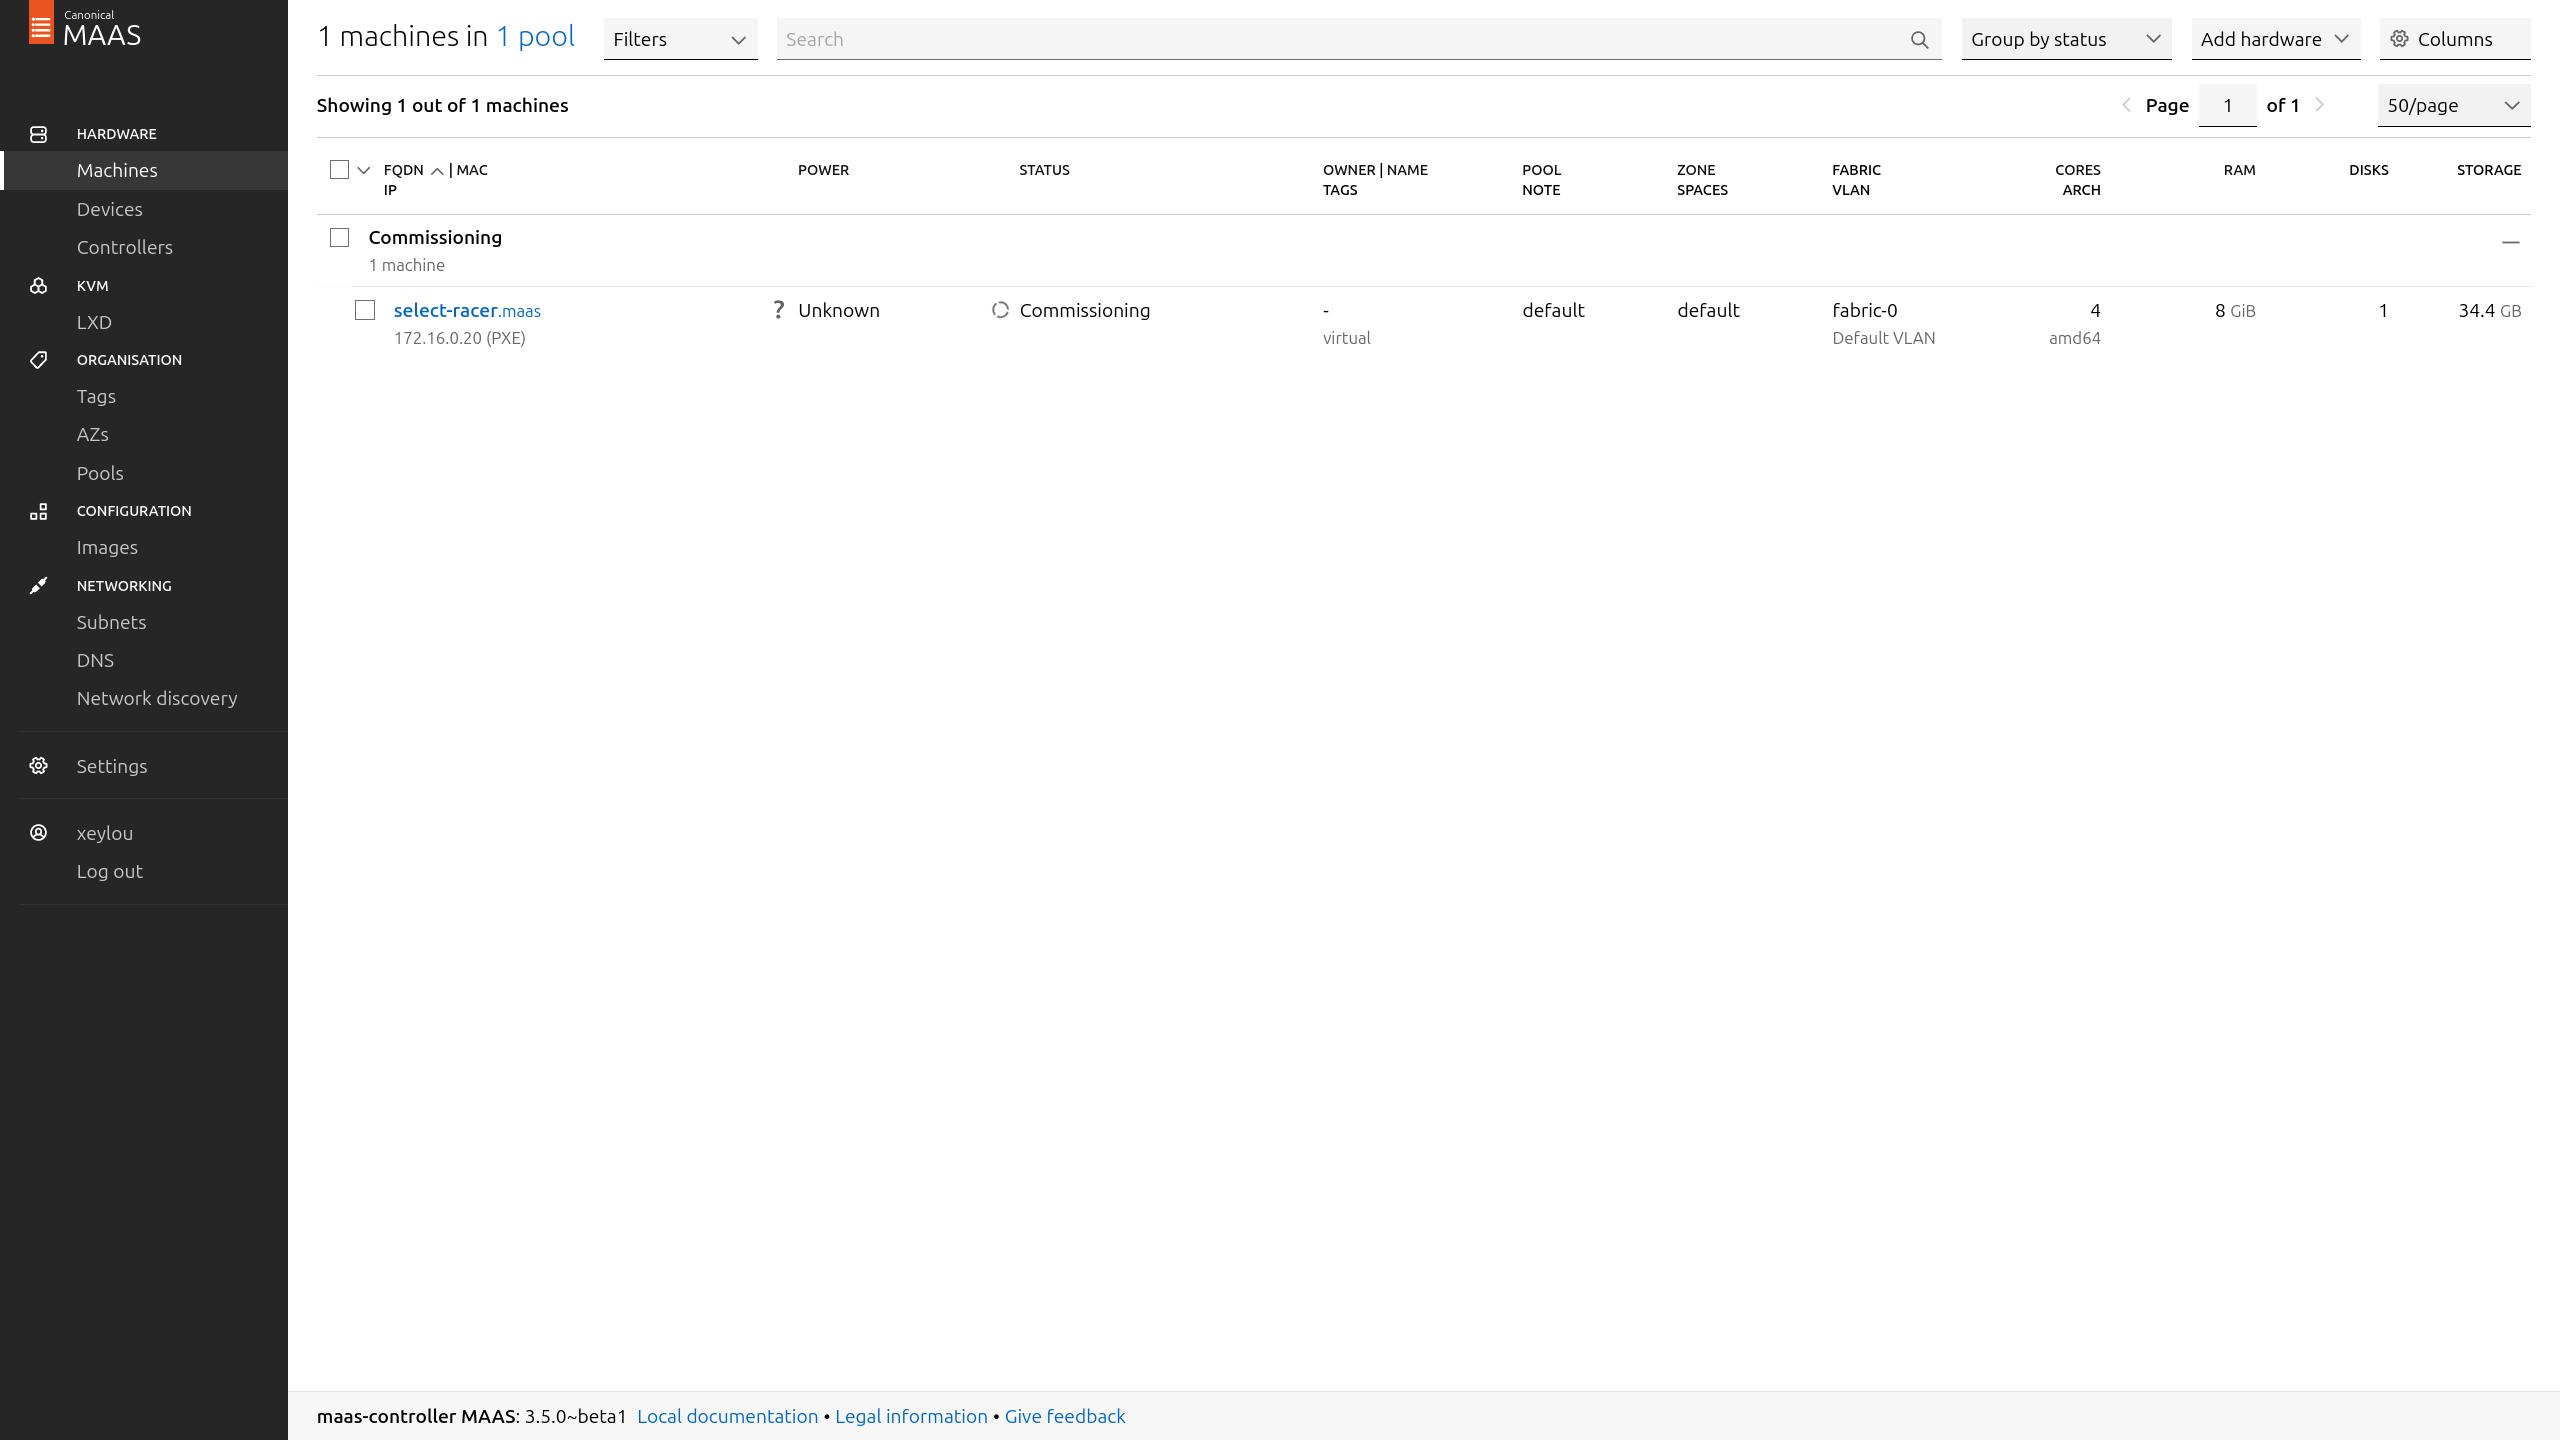
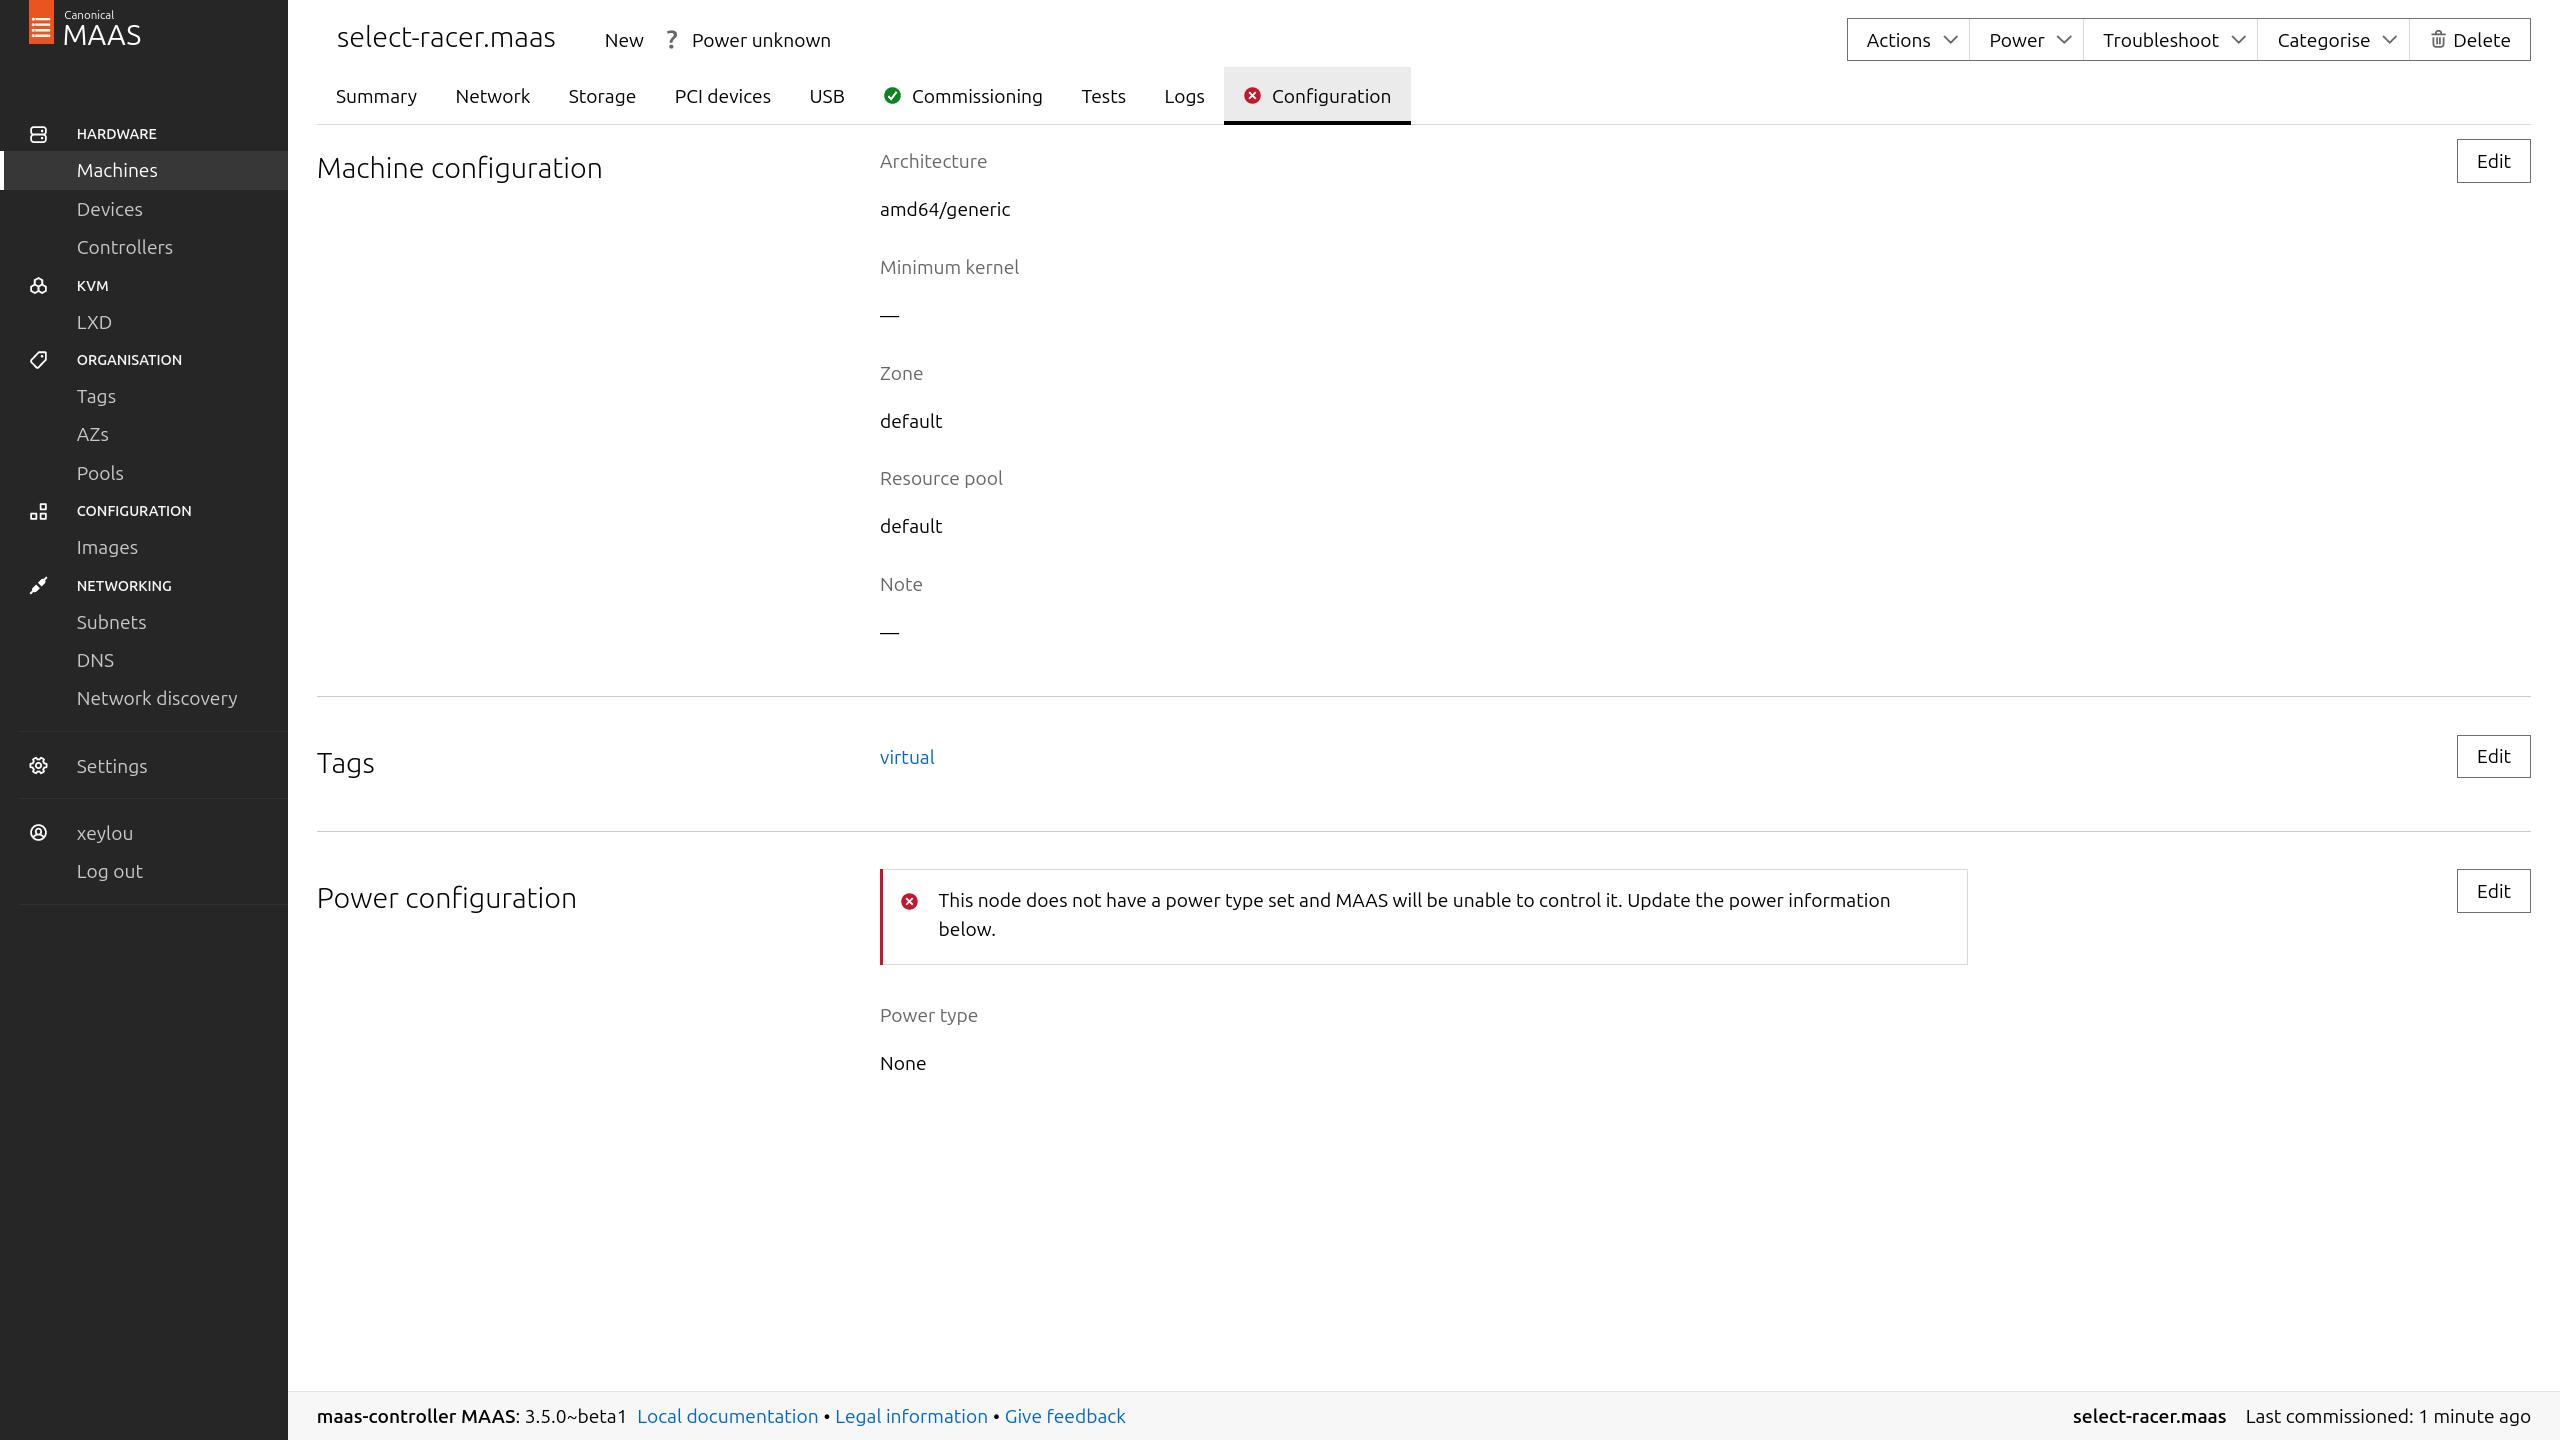
but i got a problem, maas refused to provision it unless i chose a way to power it (ilo, idrac, pdu…) because it detects && manages it
since i don’t have any other solutions than shutting down the vm for now
(i didn’t want to take time to check for virsh integration… although it is possible) i selected Manual

then, maas started commissionning it
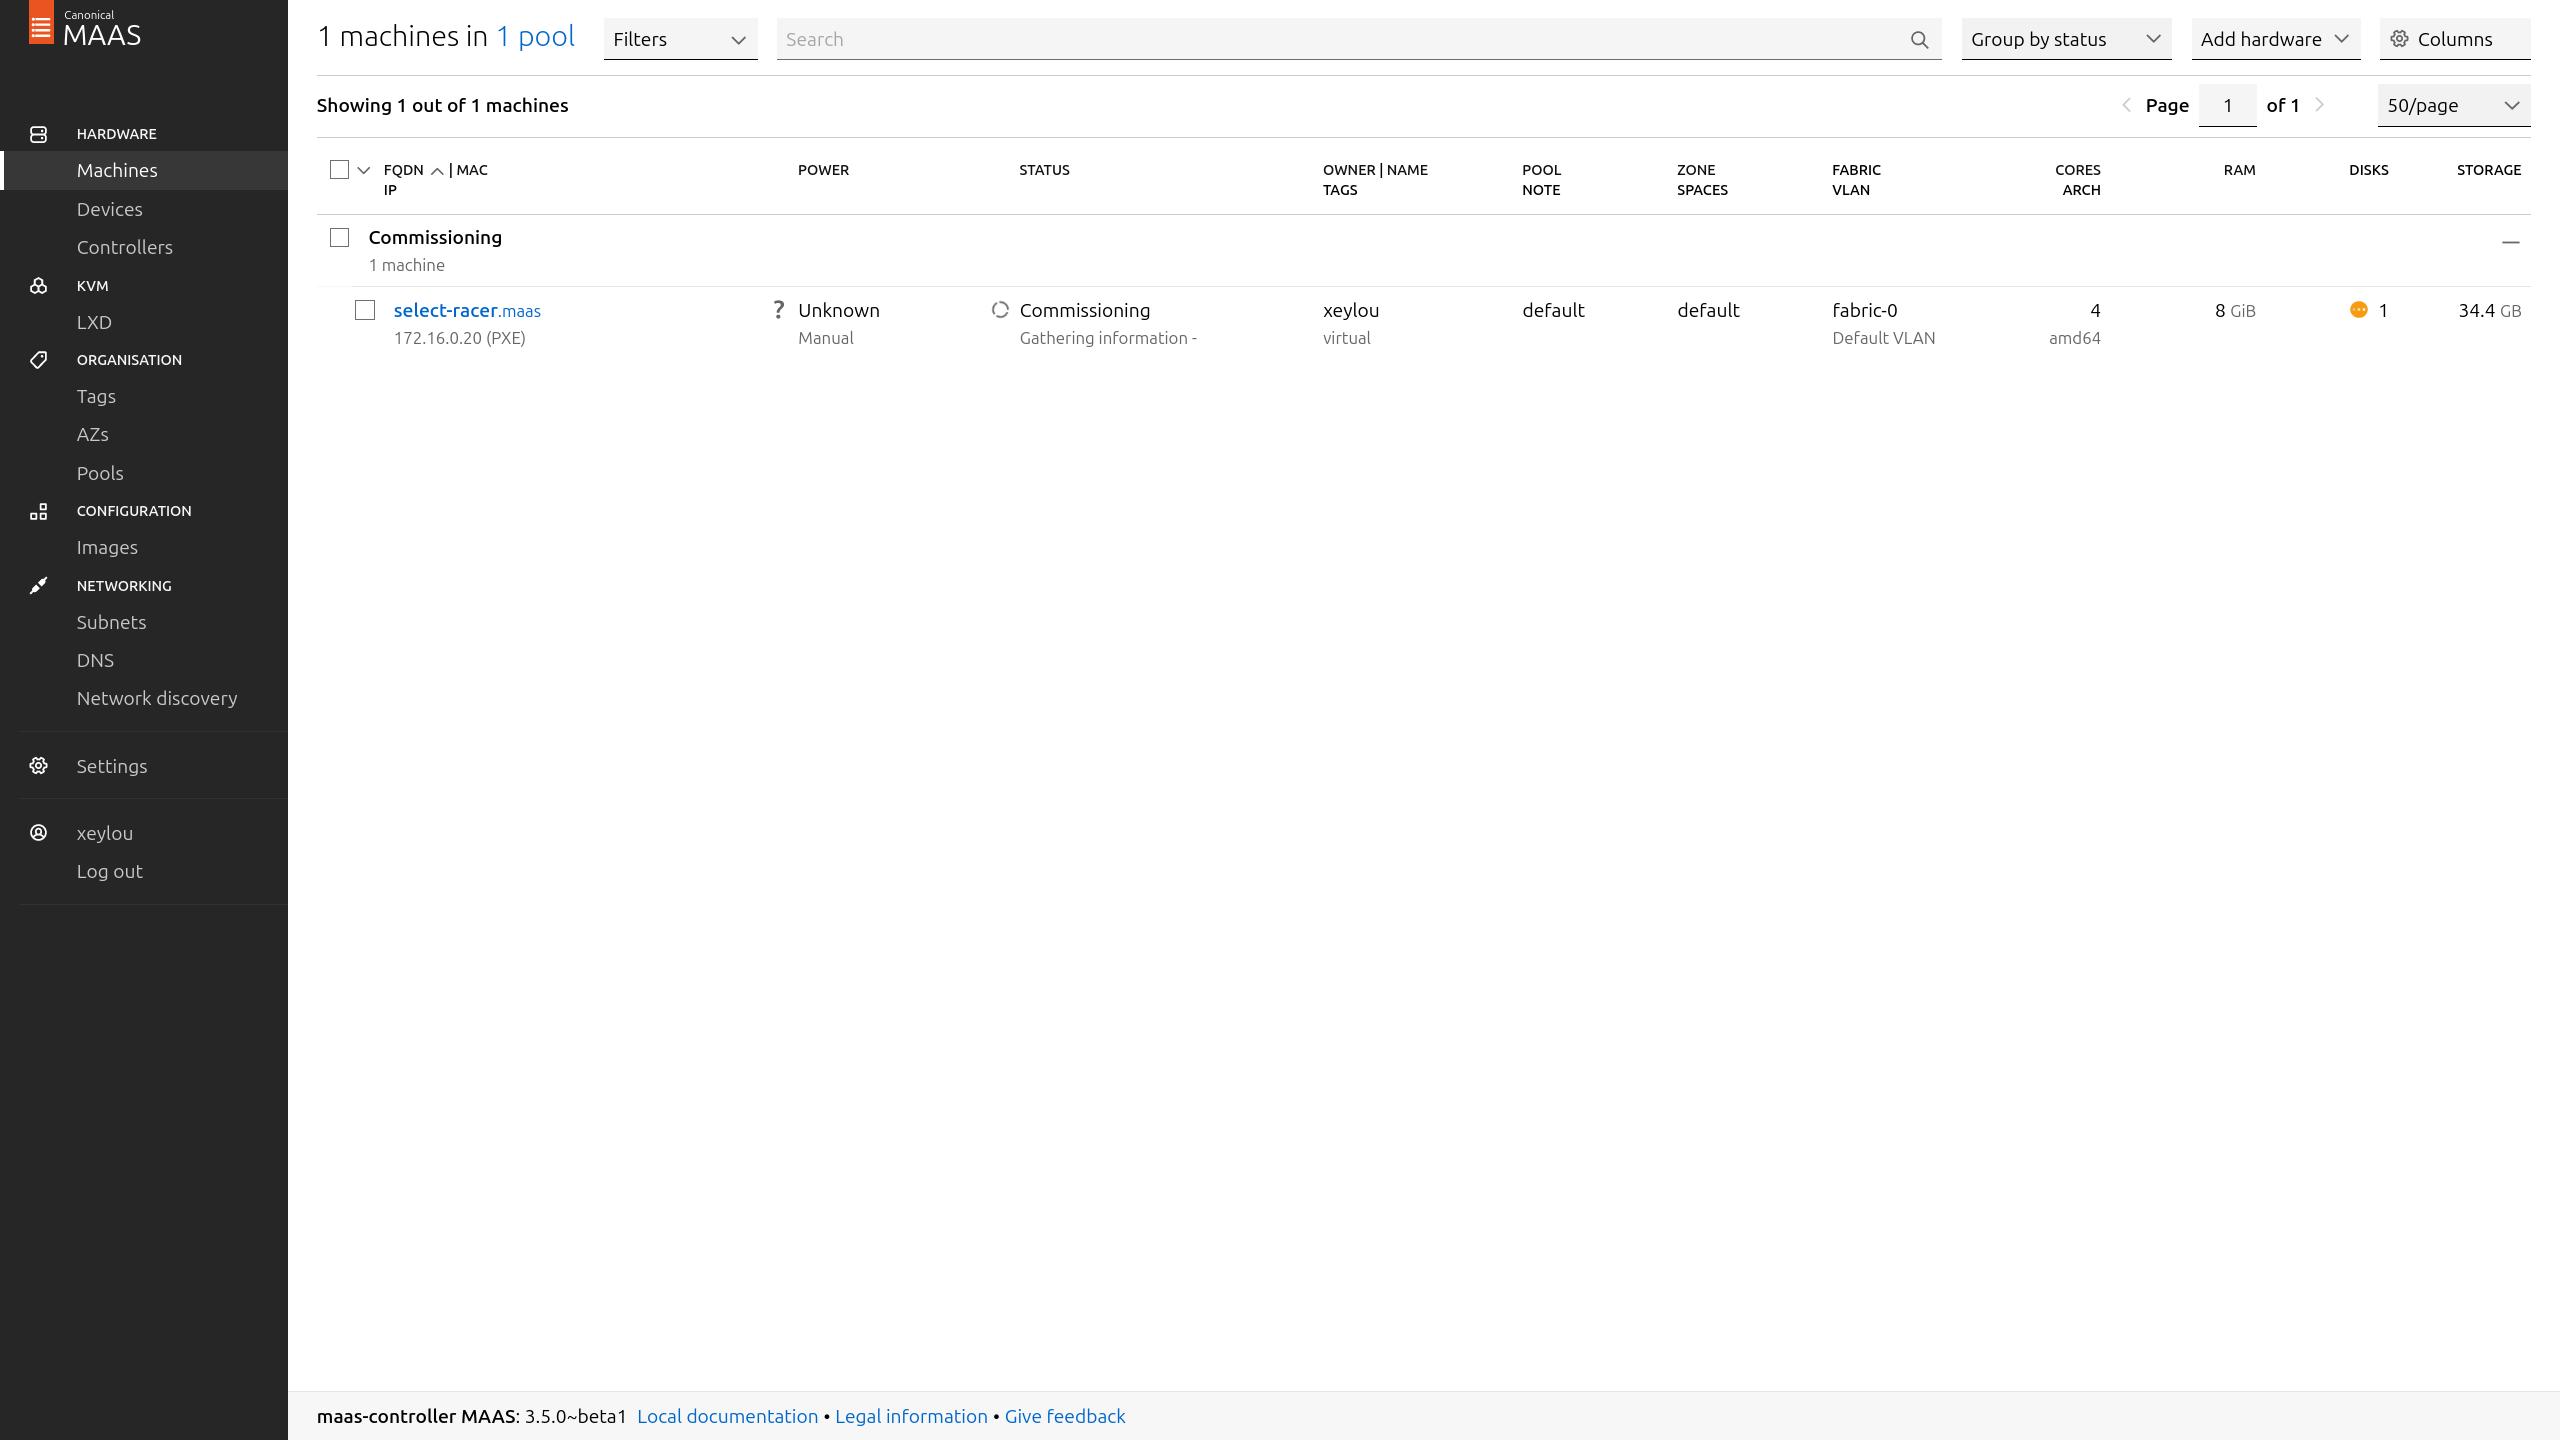
a few seconds later, it showed up as ready
so i started Deploy it
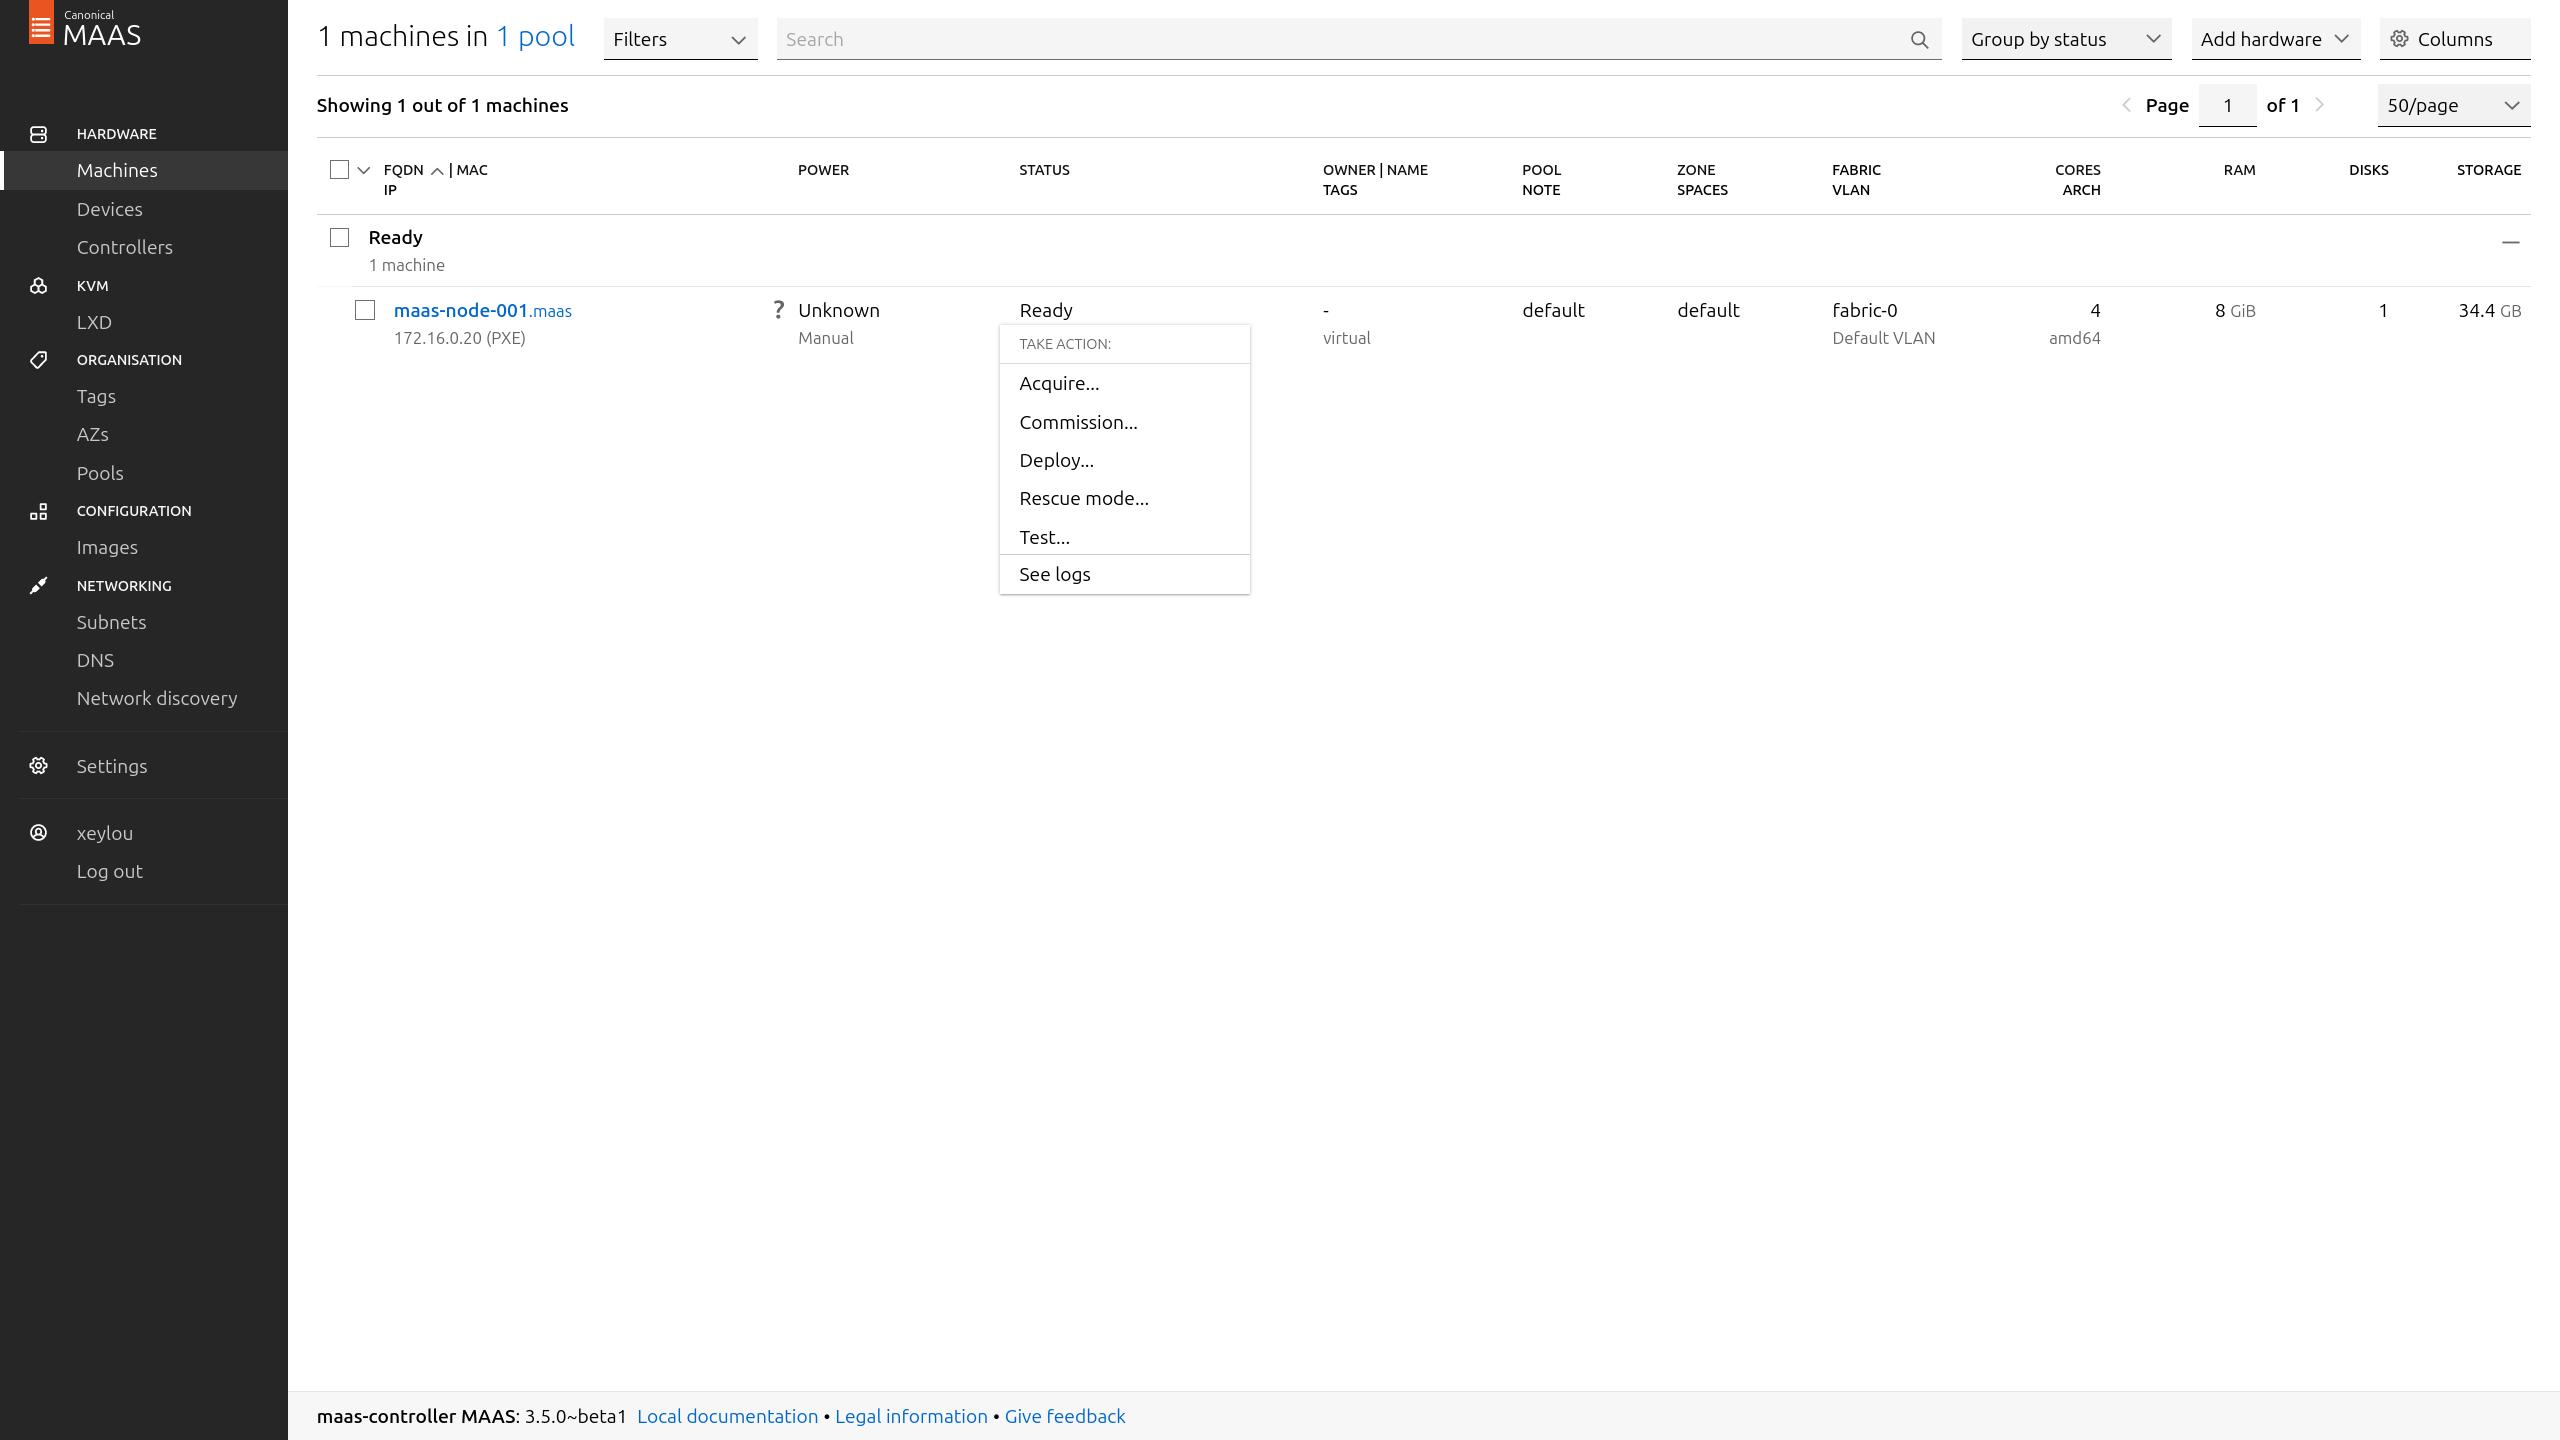

after few minutes, the node was provisioned
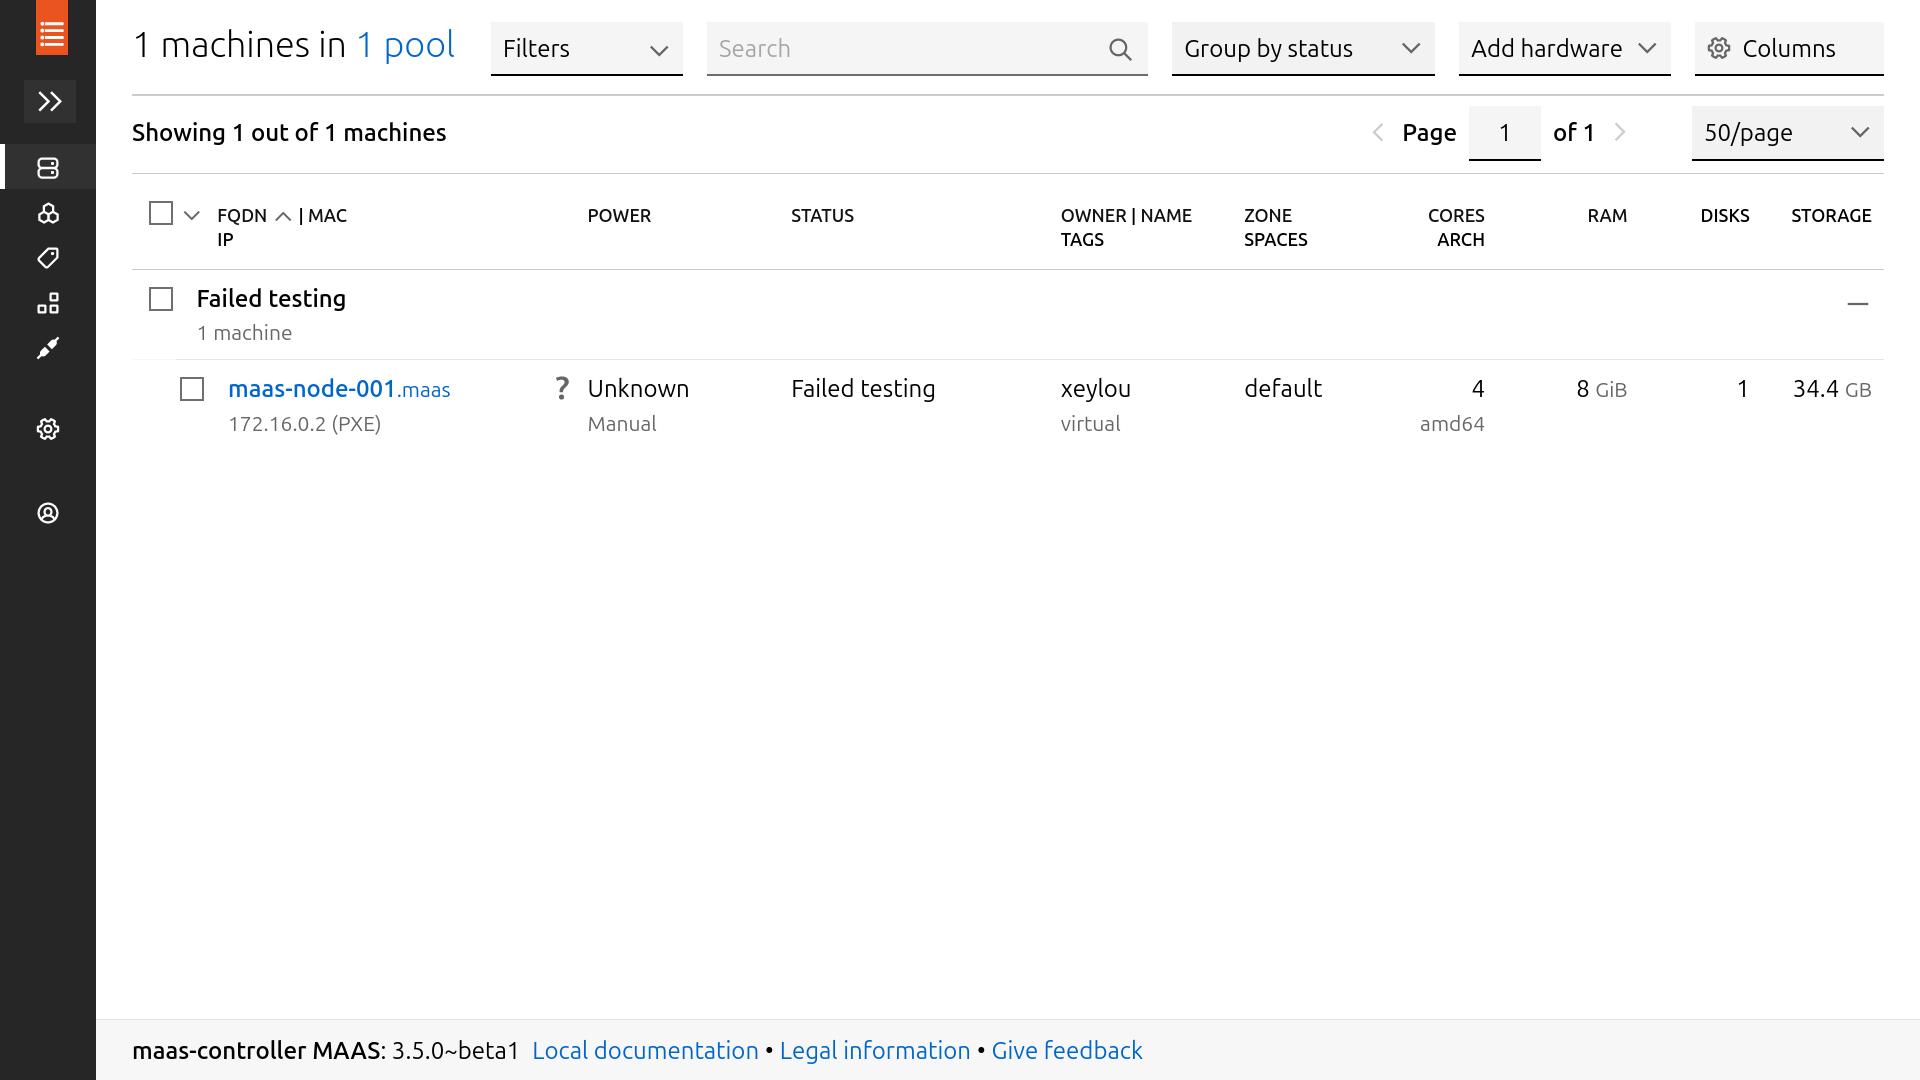
(don’t mind the “Failed testing”, i was messing arround, yours will be fine w/ your ubuntu version on it)
it has a question mark on power because he has no clue if it is powered on or not since he can’t control/check its alimentation
i added an entry on my ~/.ssh/config for maas-node-001 like i did for the controller to access it more easily over ssh
(change your identityfile if you have configured your $MAAS_USER to use a different ssh key pair than the controller in the installation process)
| |
then, you can use your maas-controller as an ssh proxy to access your maas-node-001
(because you are not in the same network)
ssh -J maas-controller maas-node-001
or, if you want to, you can specify the proxy in the ~/.ssh/config, && then just do ssh maas-node-001
| |
ssh maas-node-001
you can now manage your servers, deploying images && such, calling it through api or cli like i did for the installation above etc.
you still need few other steps to get all things done (Internet access, ntp…)
but if you have encountered errors or misunderstandings, i am here to answer your questions on discord or email
(i’m not a maas expert, i’d be extremely grateful if you also consider dm me to explain that i’m wrong)
final step#
maas use a different ntp client than the one shipped w/ ubuntu, chrony over systemd-timesyncd
canonical recommend disabling timesync to avoid ntp client conflicts, such as synchronisation issues
systemctl disable --now systemd-timesyncd
on the network side, your nodes can only use their local network, their local dns && other stuff like accessing the outside w/ apt
ping 172.16.0.10  # nodes can ping their gateway
dig maas-controller.maas  # nodes can resolve
dig google.com  # nodes can resolve
but they cannot access the Internet yet, because you need to nat their addresses
to do so, you need a dynamic nat or a static nat (dynamic to access the outside temporarly, static to permanently translate an outside address for your node to your node inside ip address in your maas-network)
otherwise, nodes will not be able to ping the outside or such
using virt-manager, you can use the nat bridge
if you are not using libvirt, you can manually add the nat rules using iptables && ip forward
you first need to enable ip forward (moving packets from an interface to an other, like a router)
apt install -y iptables-persistent
echo 'net.ipv4.ip_forward=1' >> /etc/sysctl.conf && sysctl -p /etc/sysctl.conf
then, you can translate private ip addresses (on maas-network) over ones on your hosted-network && do the translation (nat network address translation)
(where enp2s0 is your interface on 192.168.122.0/24)
dynamic nat:
iptables -t nat -A POSTROUTING -o enp2s0 -j MASQUERADE
you can also permanently translate an external address (here 192.168.122.3) to your local node on 172.16.0.2
usefull to host websites, services… doing static nat
static nat:
iptables -t nat -A PREROUTING -i enp2s0 -j DNAT -d 192.168.122.3 --to 172.16.0.2
iptables -t nat -A POSTROUTING -o enp1s0 -j SNAT -s 172.16.0.2 --to 192.168.122.3
now, you can ping google.com or whatever you need
iptables can be used in a much more complex way, i prefered keep it simple
you can think about it when you’ll want to authorise natting for certain addresses only etc.
thank you for reading, sincerely, have a good day!